

DIY Daisy Door Curtain
If you’re familiar with my craft-based design work you’ll know that I am a huge fan of the Cricut Maker cutting machine. I use it regularly for all sorts of different handmade prop and illustration work for clients. It also comes in really hand when preparing materials and templates for my craft workshops. So naturally, when Cricut and Spotlight invited me to try out the brand new Cricut Maker 3 and create some colourful and fun DIY projects for you to try, I jumped at the chance!

The Maker 3 has some new features that I’m super excited about, including the ability to cut and write up to 2 times faster than the original Maker machine. There’s also a new suite of Cricut Smart Materials which give you the opportunity to use the new matless cutting function, and cut up to 3.6 meters at once.
Here’s the first of three DIYs designed specially for the Cricut Maker 3 - a stunning and simple home décor project that you can make on your Maker 3 today! This easy-to-assemble daisy door curtain was made using Cricut Smart Paper and a few handy tools from Spotlight and my local hardware store. You can drill this colourful creation straight onto your doorframe, or hang from removable hooks (great for renters!)

You Will Need
- Cricut Maker 3
- Cricut Smart Paper (11 sheets in the following colours: 3 x red, 3 x pink, 2 x yellow, 2 x blue, 1 x green)
- Square balsa dowel rod (painted to match your door frame if needed)
- Thin hobby wire
- 9 metal screw eyes
- Pliers
Step 1
Open up Cricut Design Space and optimise your project for the Maker 3.
Step 2
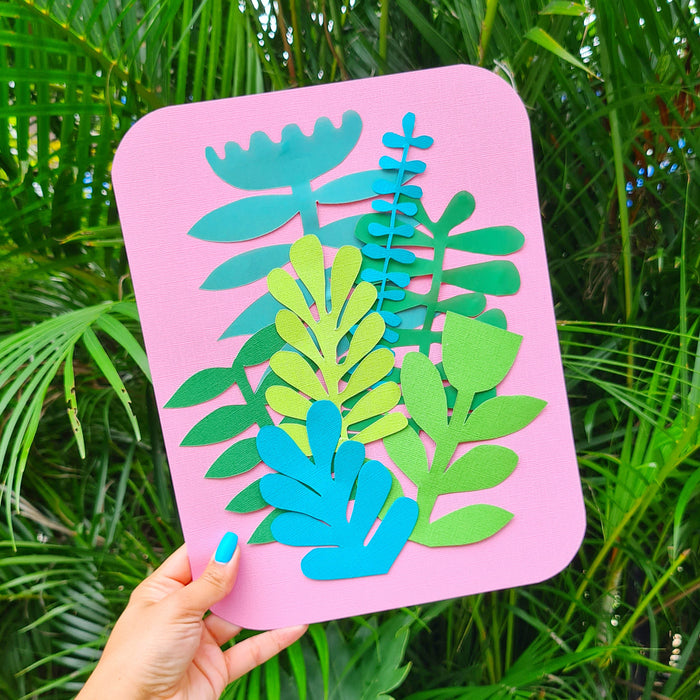
In the Cricut Access Library, search for image #M82BF712 (or another symmetrical flower design of your choice). Resize the flower to 7cm wide.
Step 3
Duplicate and lay out your flower shapes on your Design Space canvas, ensuring that you have enough for 77 double-sided flowers (154 flowers in total).
Step 4
To make the most of the space on each sheet of Smart Paper, manually nest the flowers into groups of 14 on your Design Space canvas and attach each set together.
Step 5
Hit the Make It button and select the ‘Without mat’ option (Smart Paper doesn’t require a mat for cutting!). Make sure that each sheet is sized correctly for Smart Paper (33x33cm), then hit Continue. Select the correct material (Smart Paper) and begin your cut.
Assembling the Curtain

Step 1
Cut 7 strands of hobby wire, each approximately 200cm in length.

Step 2
Make 7 evenly spaced markings along the centre of one panel of your square dowel rod, and screw a metal screw eye into each. I pre-painted my dowel rod to match the colour of my doorframe which you can also do if you wish.

Step 3
Affix a metal screw eye at each marking.

Step 4
Attach a strand of wire onto each screw eye using the pliers.

Step 5
Peel a pair of flowers off the backing sheet and stick them to one another (sticky sides facing towards each other) on the wire, sandwiching the wire in between.

Step 6
Repeat this step for the rest of the flowers. There should be 11 double-sided flowers on each wire, spaced evenly apart. You can stagger every second strand for aesthetics if you wish. When you’re done trim off any excess wire.

Step 7
To hang your curtain, drill the dowel rod directly into your door frame. Alternatively you can attach 2 screw eyes to either end of the top panel of your dowel rod and hang the curtain from removable hooks using loops of wire.
 |
 |
You can find the Cricut Maker 3 machine, Smart Materials and Cricut accessories at your local Spotlight store.
This DIY project was sponsored by Spotlight and Cricut - all design concepts and opinions are my own.