DIY Giant Daisy Prop
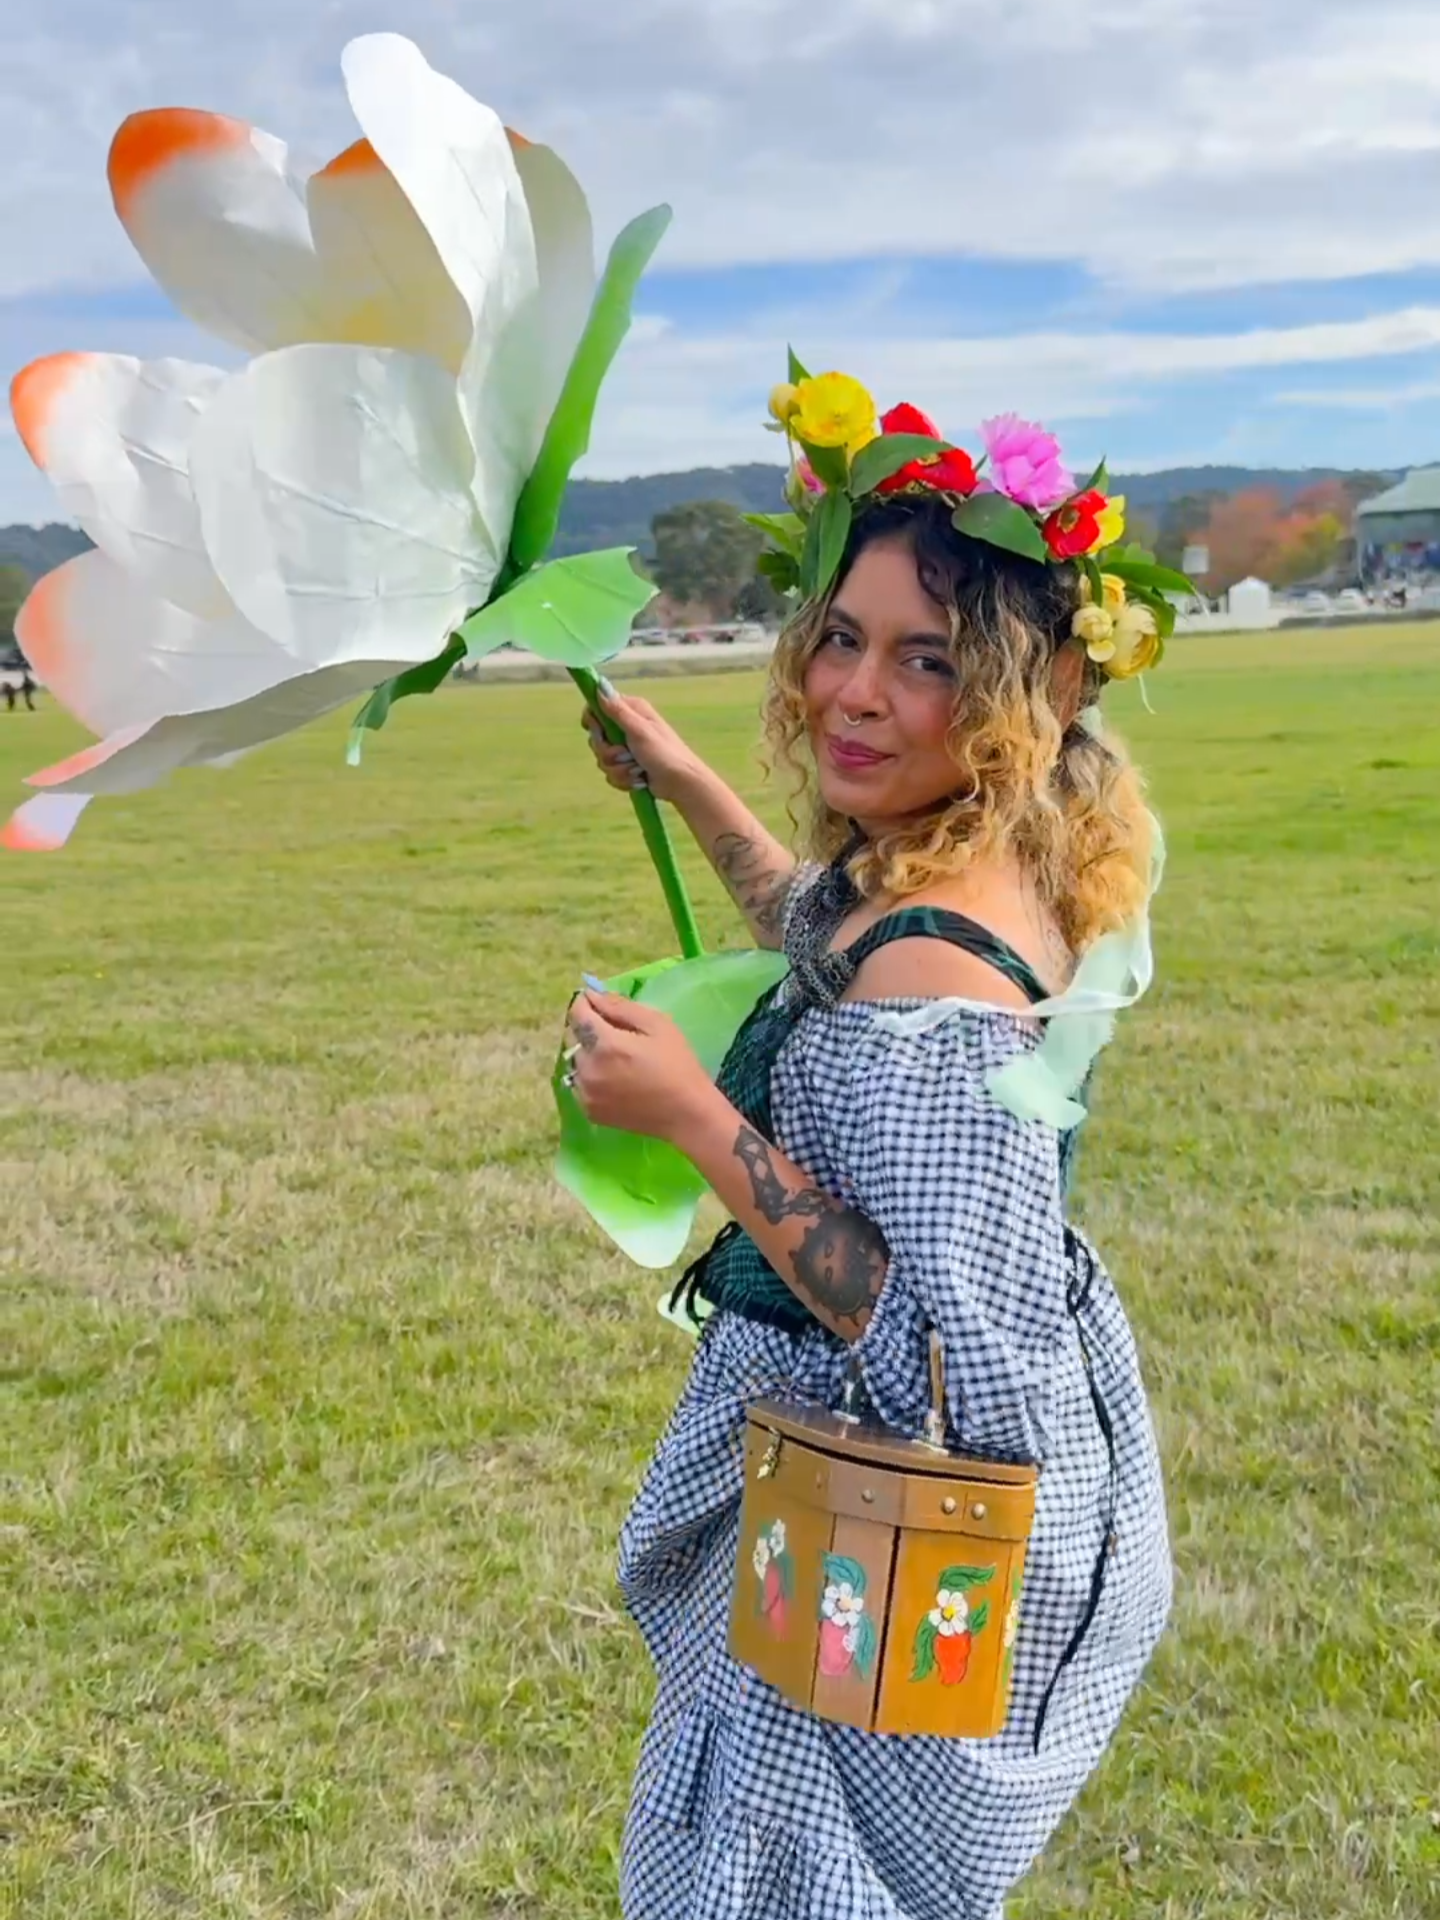
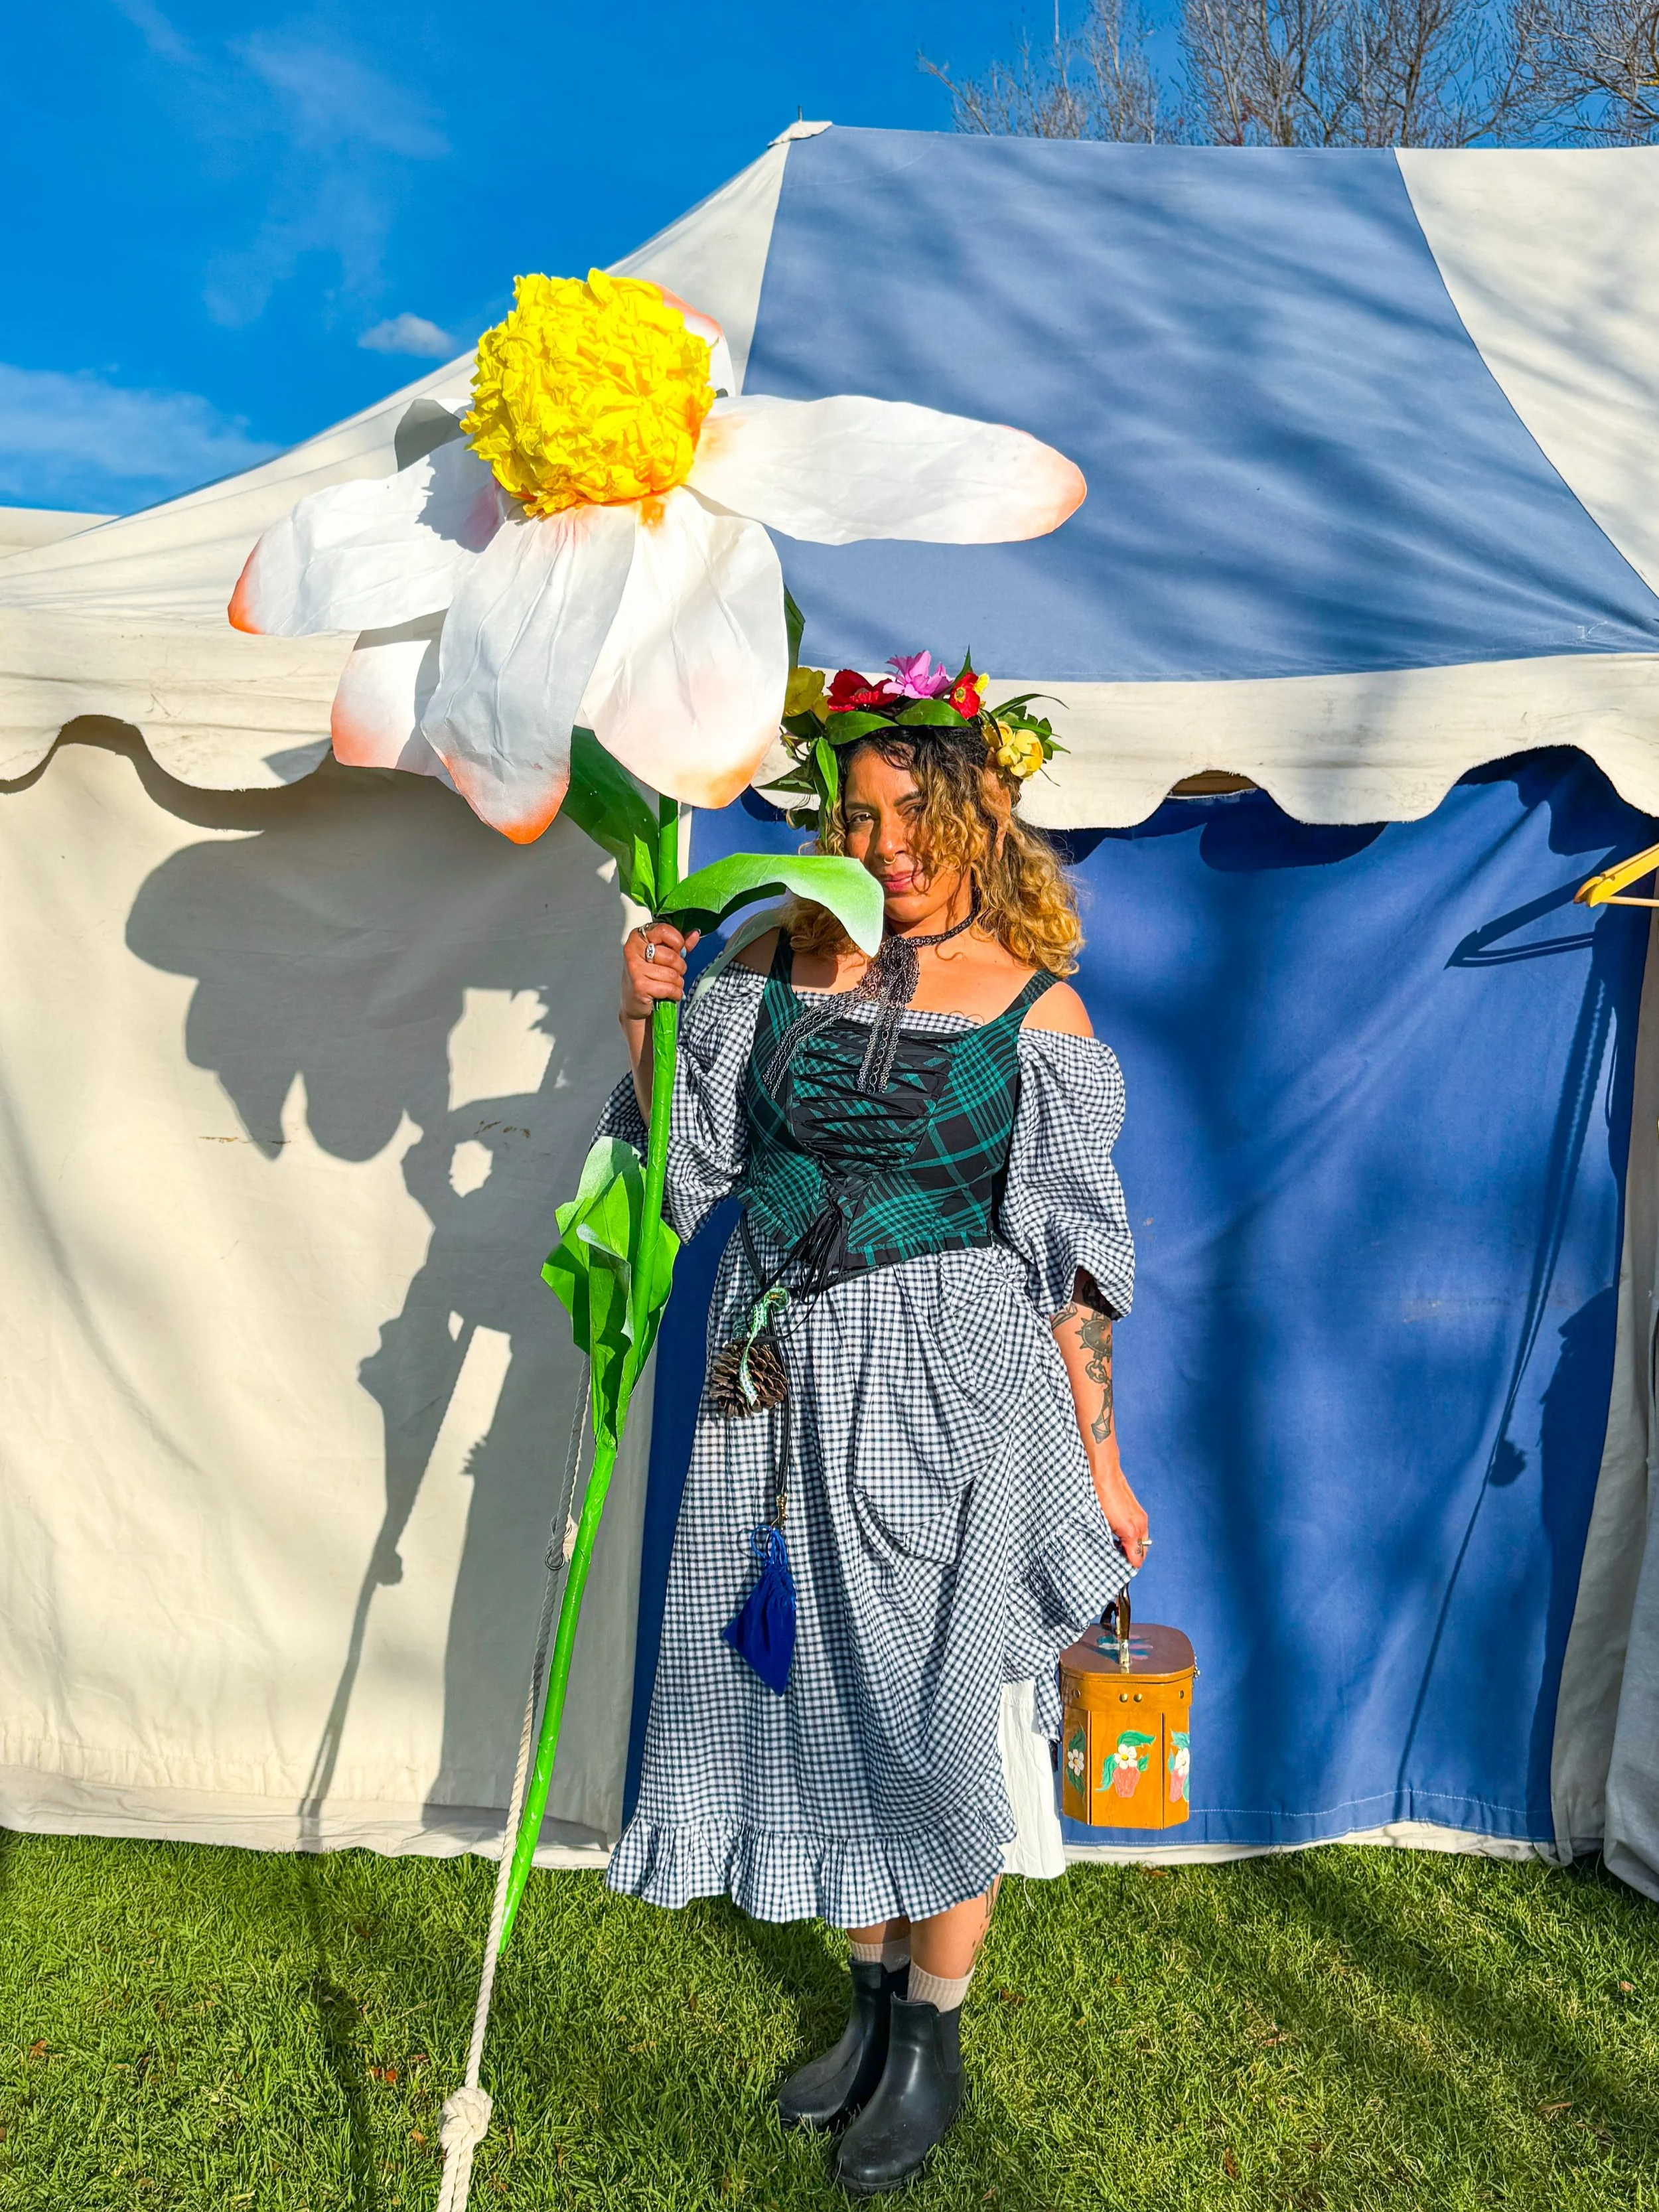
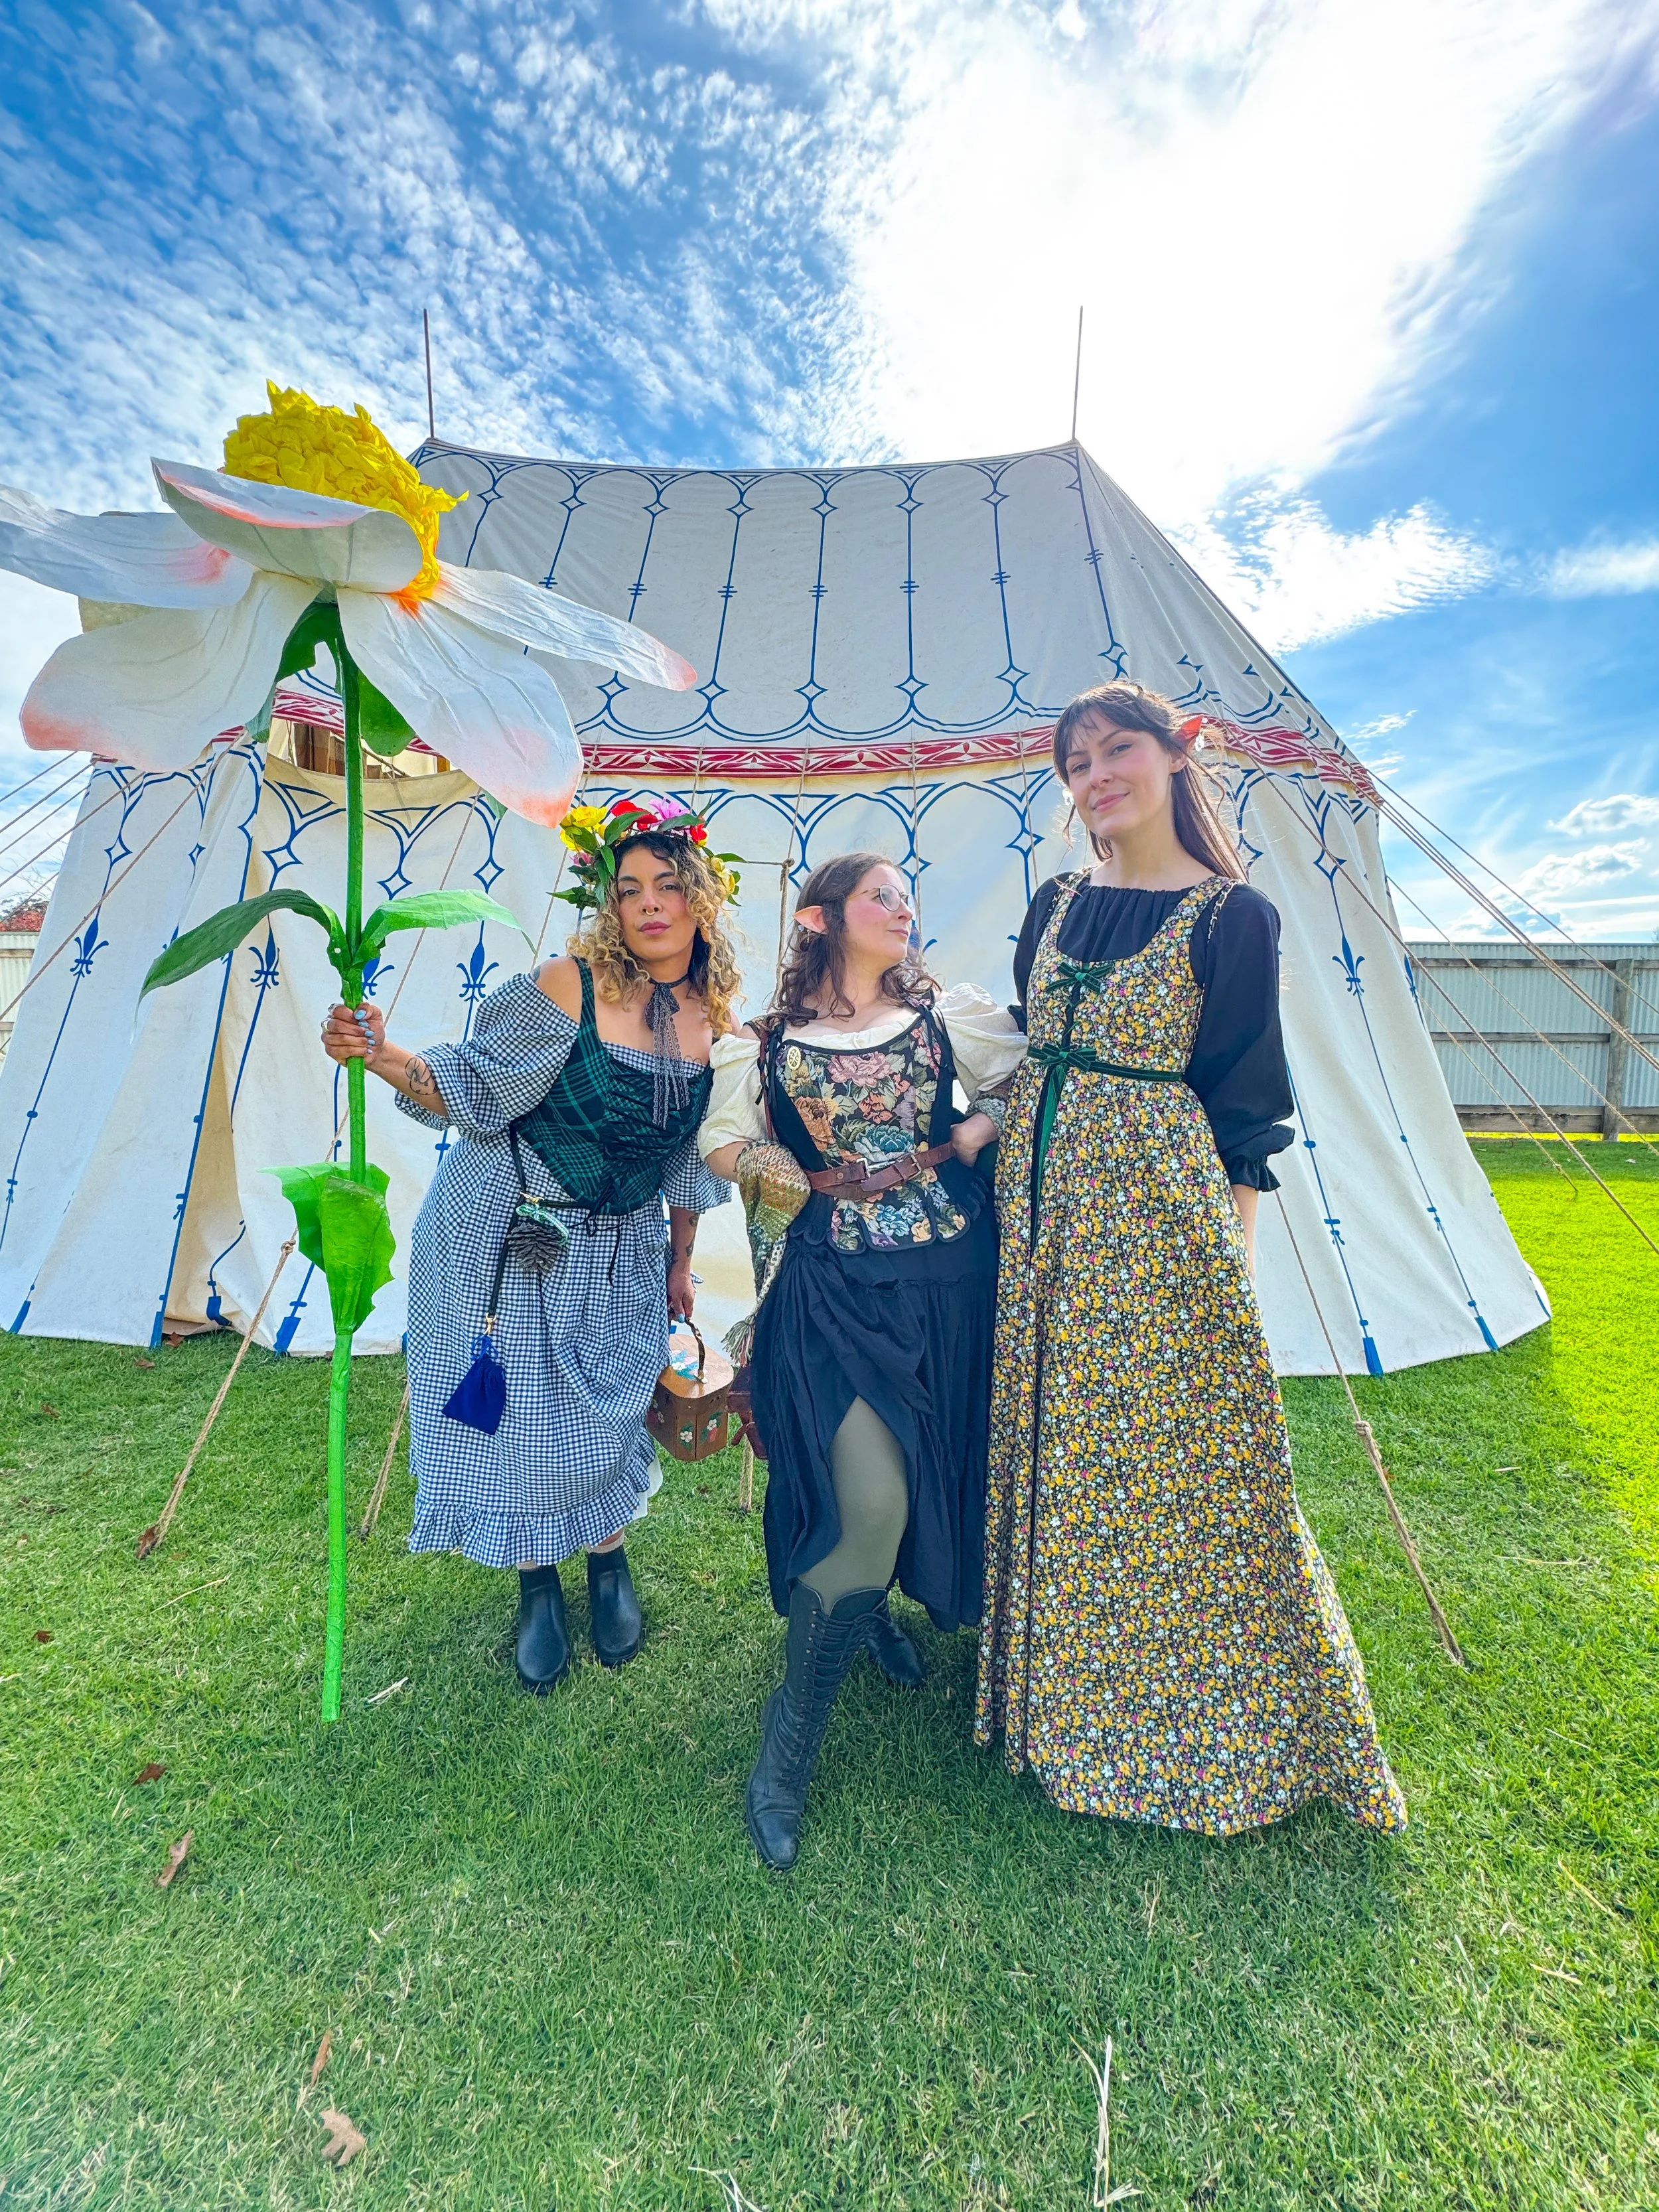
I recently attended my first ever Renaissance Fair and of course, I had to dress up! The character I created for the Fair is a cheeky little elven bar maid - maybe she works in the local tavern at night, but spends her days frolicking in the woods, picking flowers, which are of course supersized as she’s just a tiny elf. I wanted to bring my love of giant props to the fair, so created this huge daisy to take along with me. A friend passed on a spare ticket to me the day before the Fiar, so I had to create my entire costume in less than 24 hours, including the daisy. Here’s how I pulled it off…
You Will Need
The amounts of materials will vary depending on what size you want your daisy. For my original project I was limited in how many materials I had on hand in the studio at the time which then dictated the size. It’s up to you how big you want to make it.
Crepe paper for the petals and leaves (I used white Tyvek instead of crepe paper that I had left over from another project but crepe paper works just as well! If you’re using crepe, I recommend just getting the exact colour you need for the flower and leaves as you won’t need to paint anything that way)
Spray paint for the leaves and stem, and for coloured details on your petals, if you wish
Length of PVC pipe - I used flexible PVC pipe left over from another project, it’s hard to source in Australia - I got it from Thailand - but it’s great for creating realistic stems. Normal PVC pipe works just as well though!
Long, rigid florist wire (you’ll need 3 wires per leaf/petal)
Hot glue gun and glue sticks
Yellow crepe paper for the daisy centre
Large styrofoam ball for the daisy centre
Green masking or gaffa tape
Plain card stock for creating patterns
Glue stick
Making the daisy
Step 1
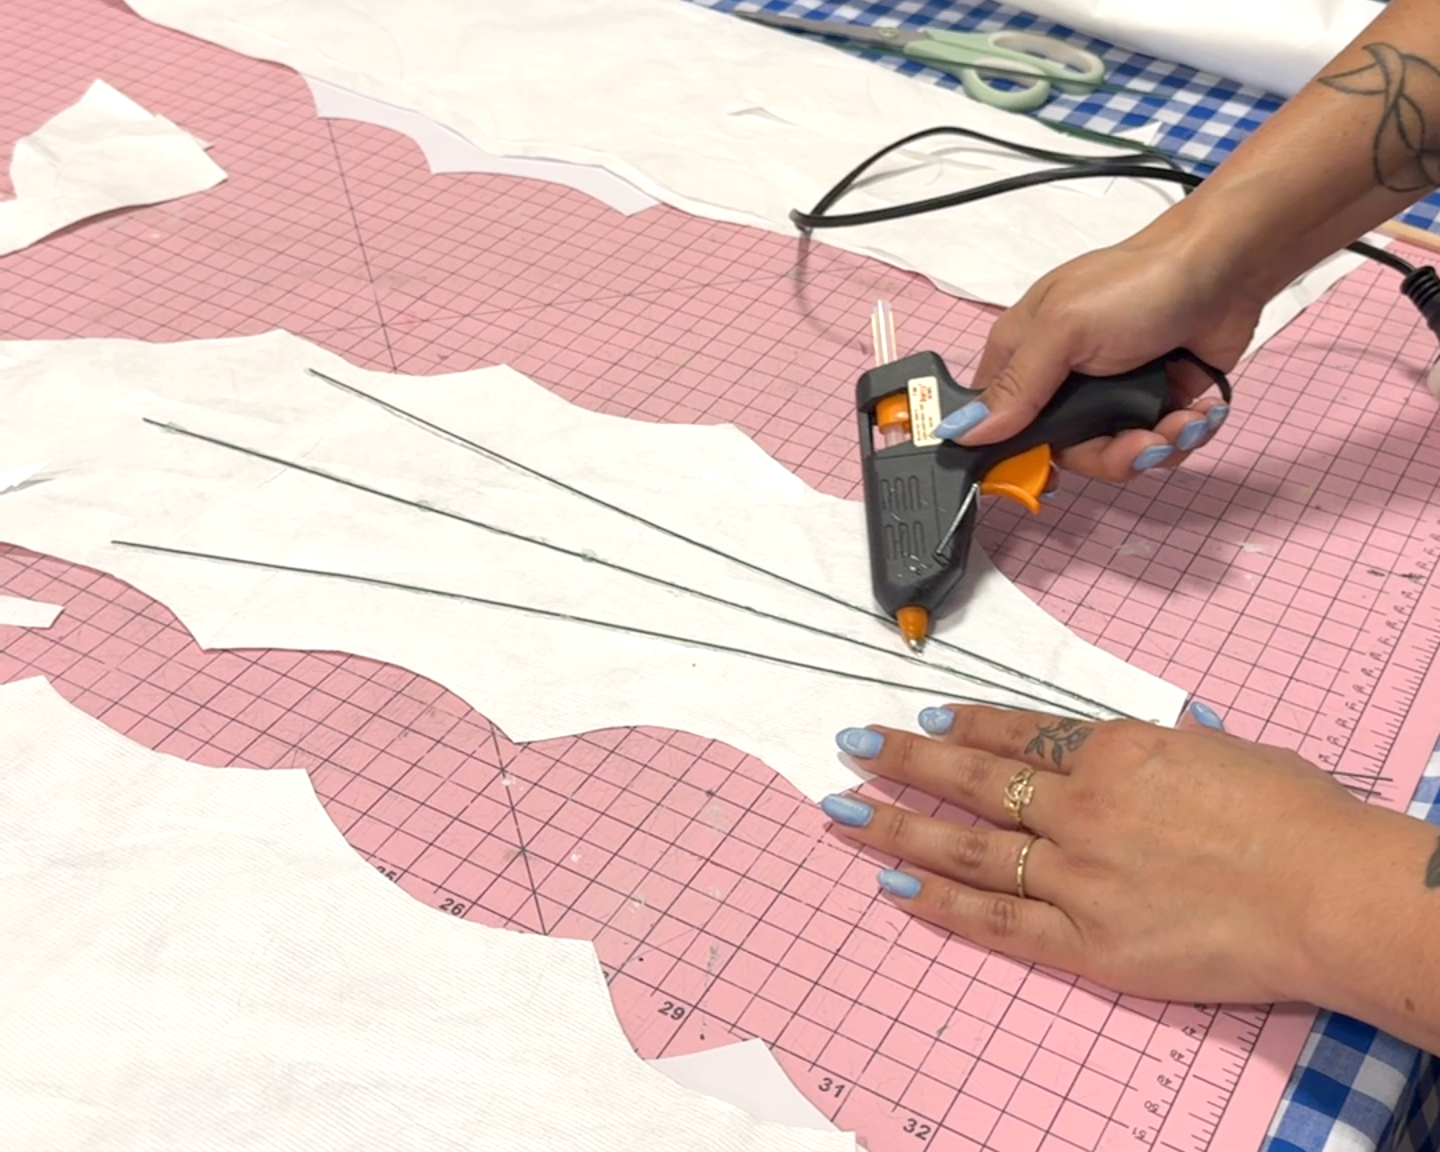
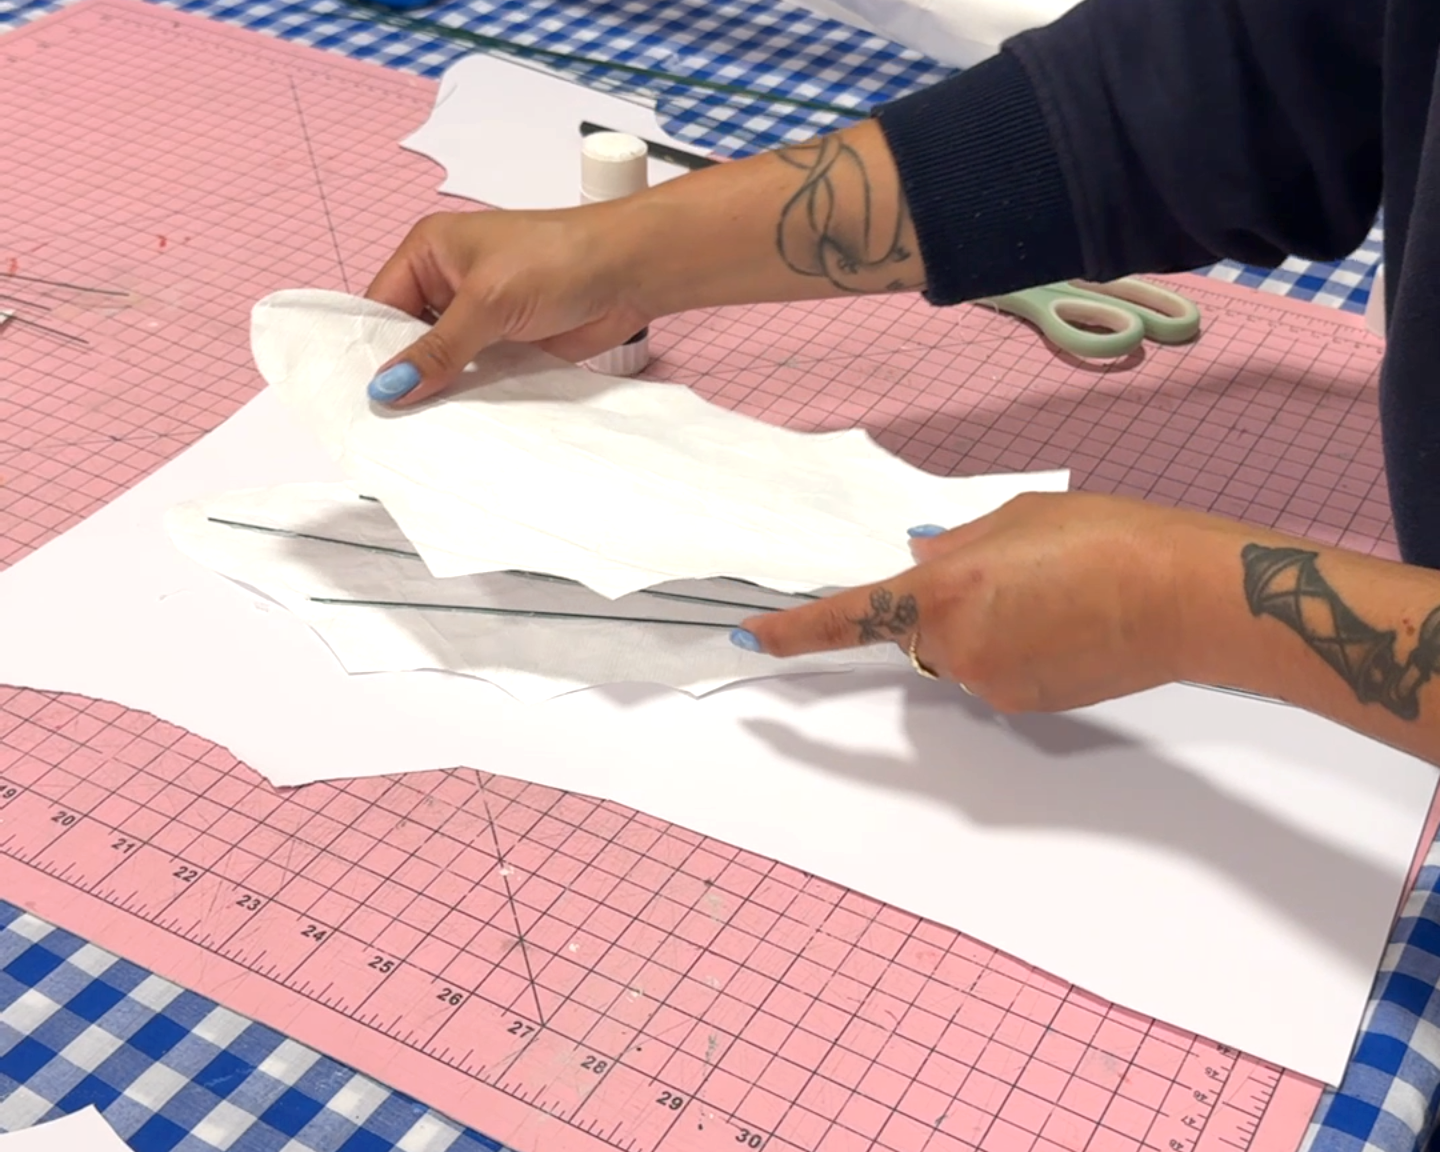
Figure out how many leaves you’d like on your daisy stem. I made a mix of large and small sizes. Draft patterns for them from the cardstock, then use these to trace 2 leaf shapes for each leaf, making sure each is a mirror image of the other as you’ll be sticking them both together to form a double-layered leaf. Use hot glue to affix 3 florist wires to one half of each leaf.
Step 2
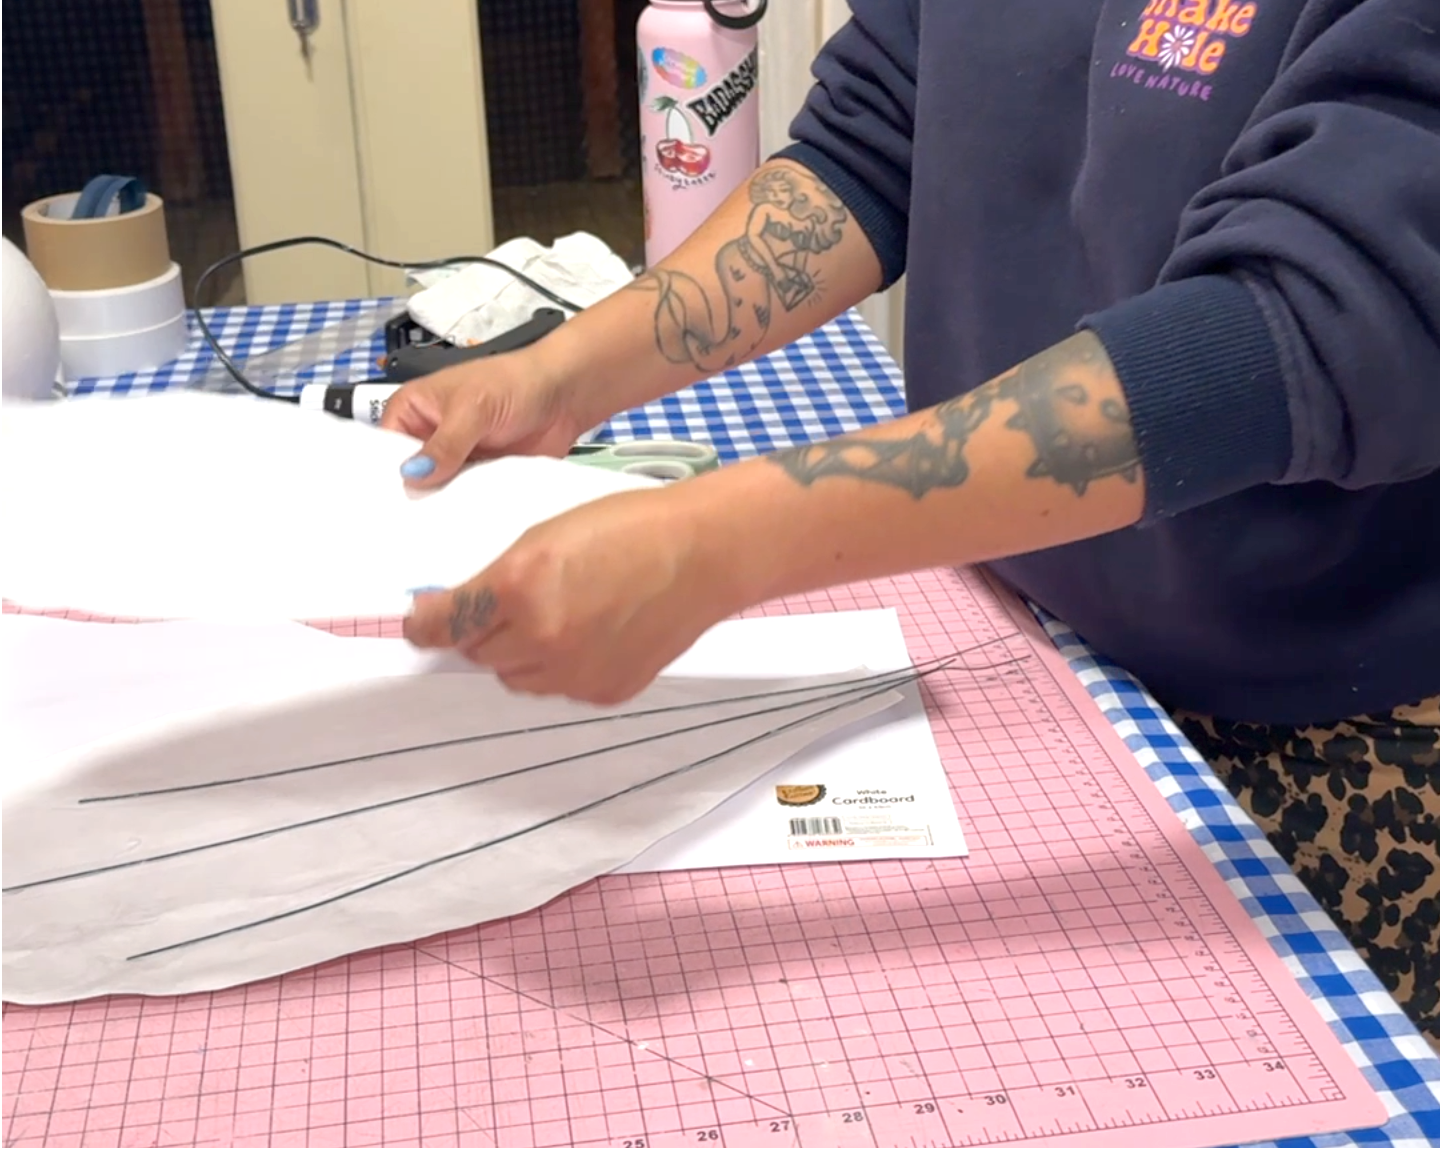
Use the glue stick to affix the two leaf faces together, sandwiching the wire between. Ensure there is a short length of wire sticking out the bottom as you’ll need this to attach the leaves to the stem later.
Step 3
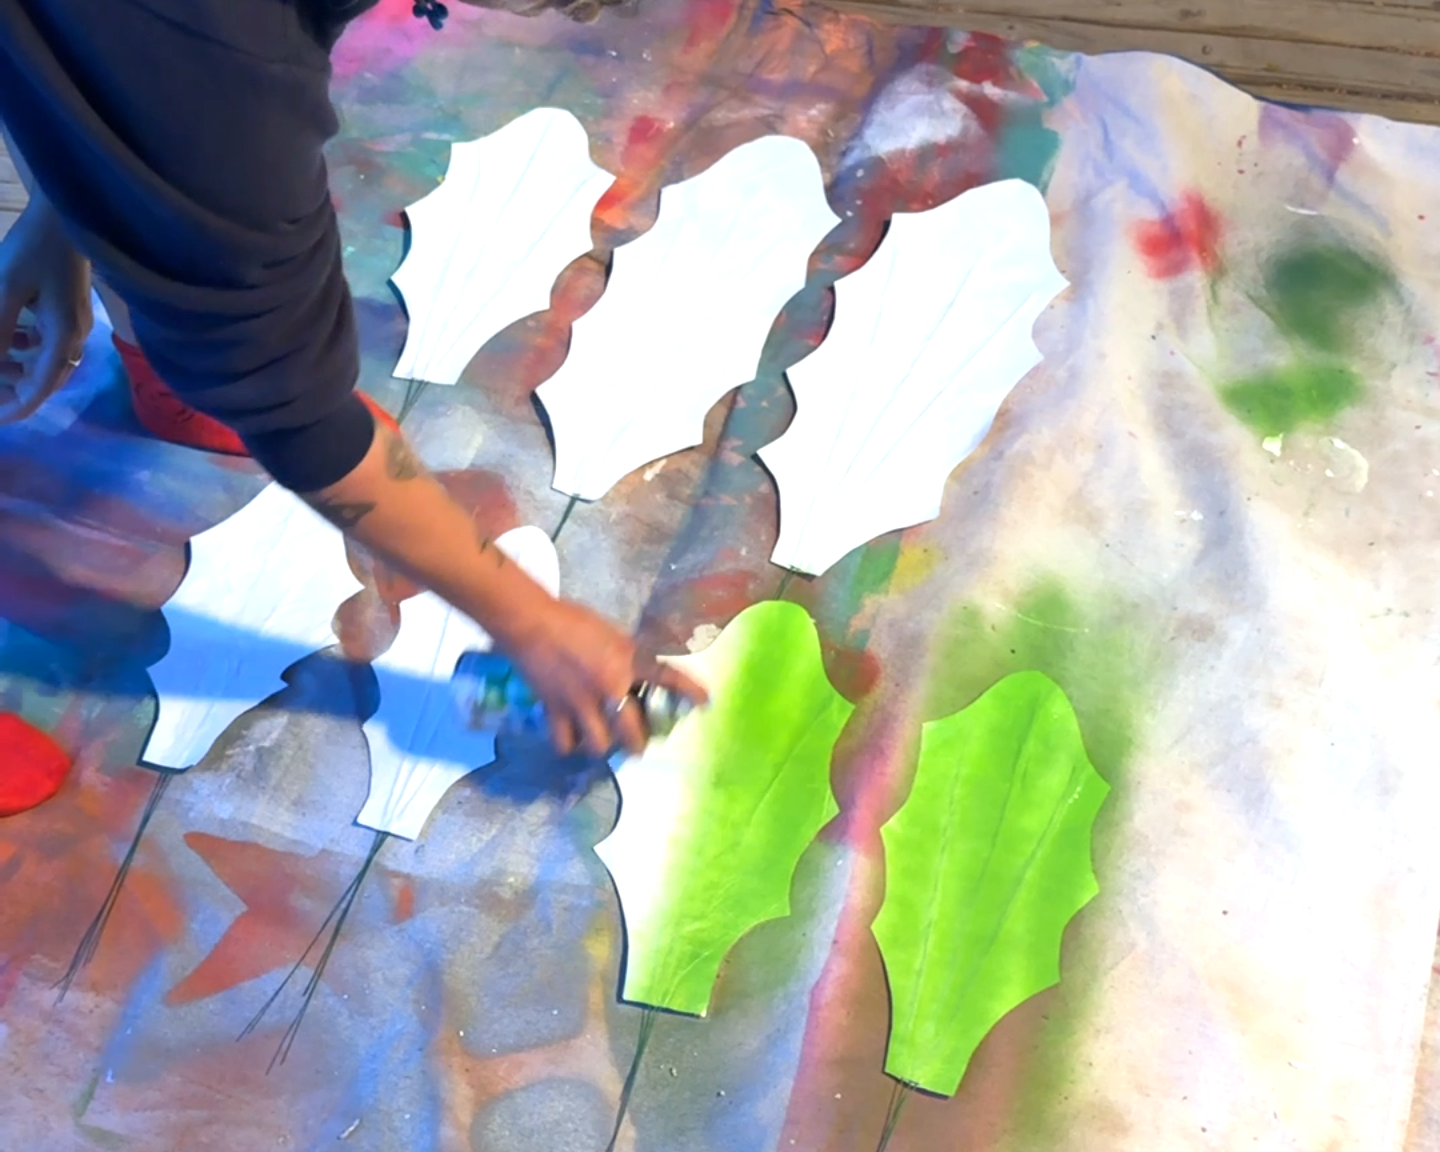
Spray each side of the leaves. I used two shades of green to add depth and texture to each leaf.
Step 4
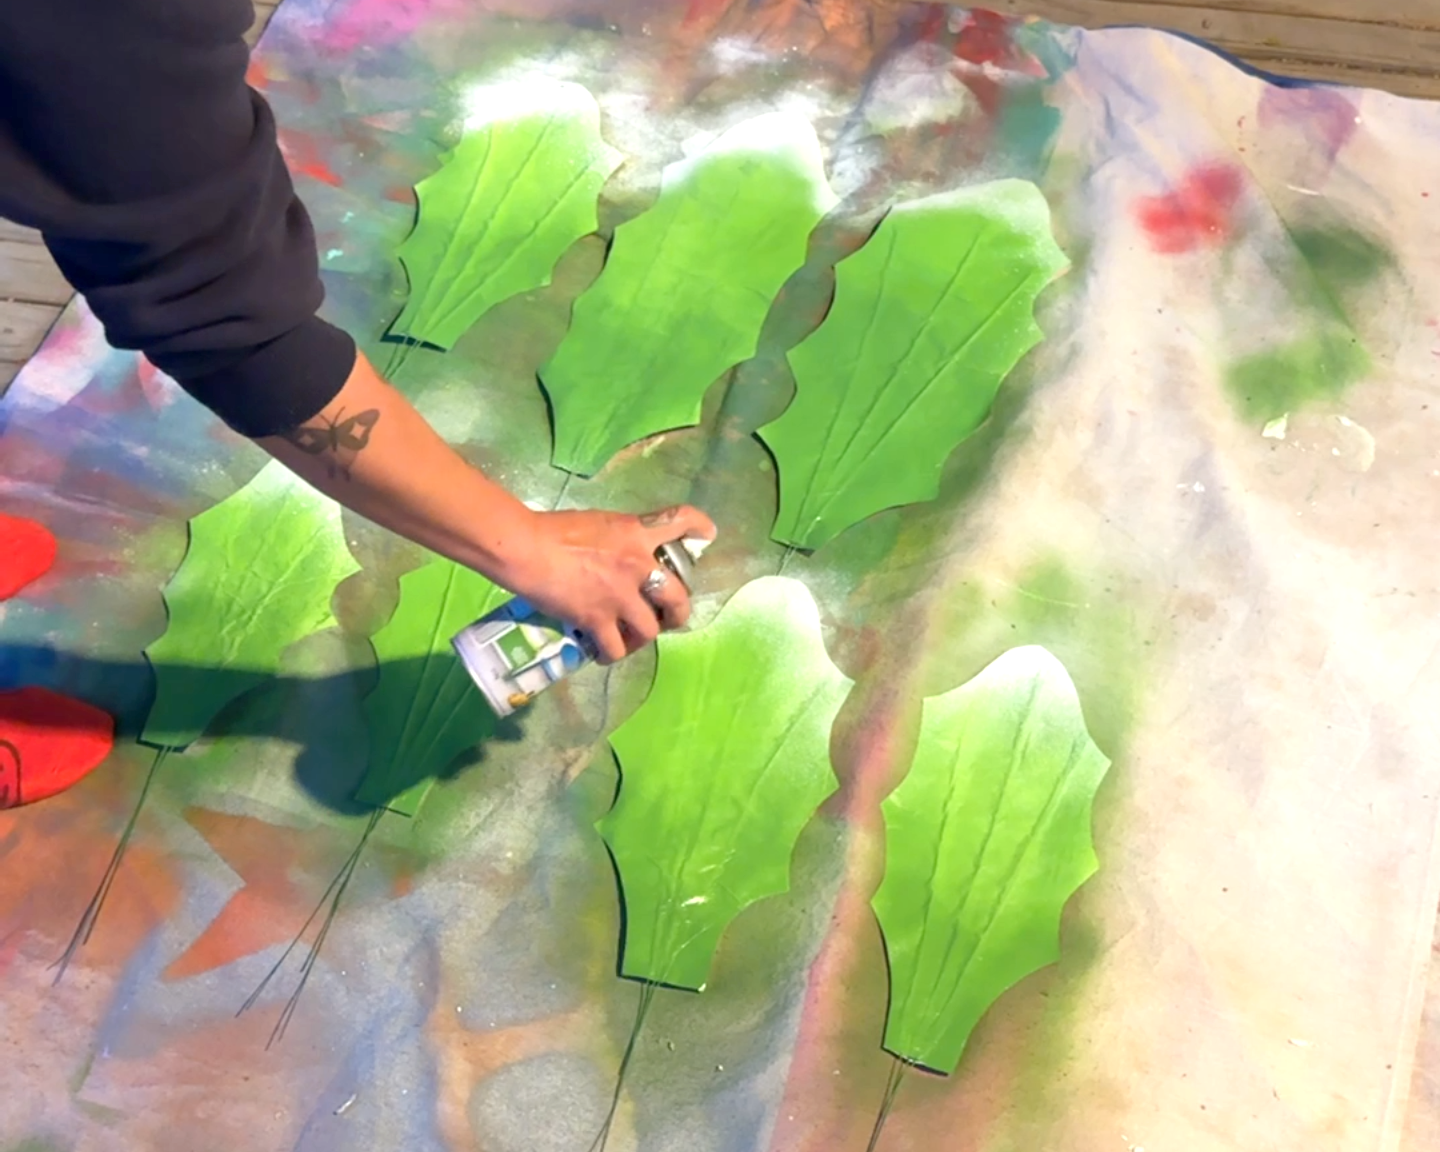
Add more sprayed detail with white or a lighter tone to give the leaves even more dimension.
Step 5
Repeat Steps 1 and 2, but with giant petal shapes. I created 8 petals for my daisy, designed to sit in 2 layers around the stem. Feel free to add sprayed details to the petals in any colour you like!
Step 6
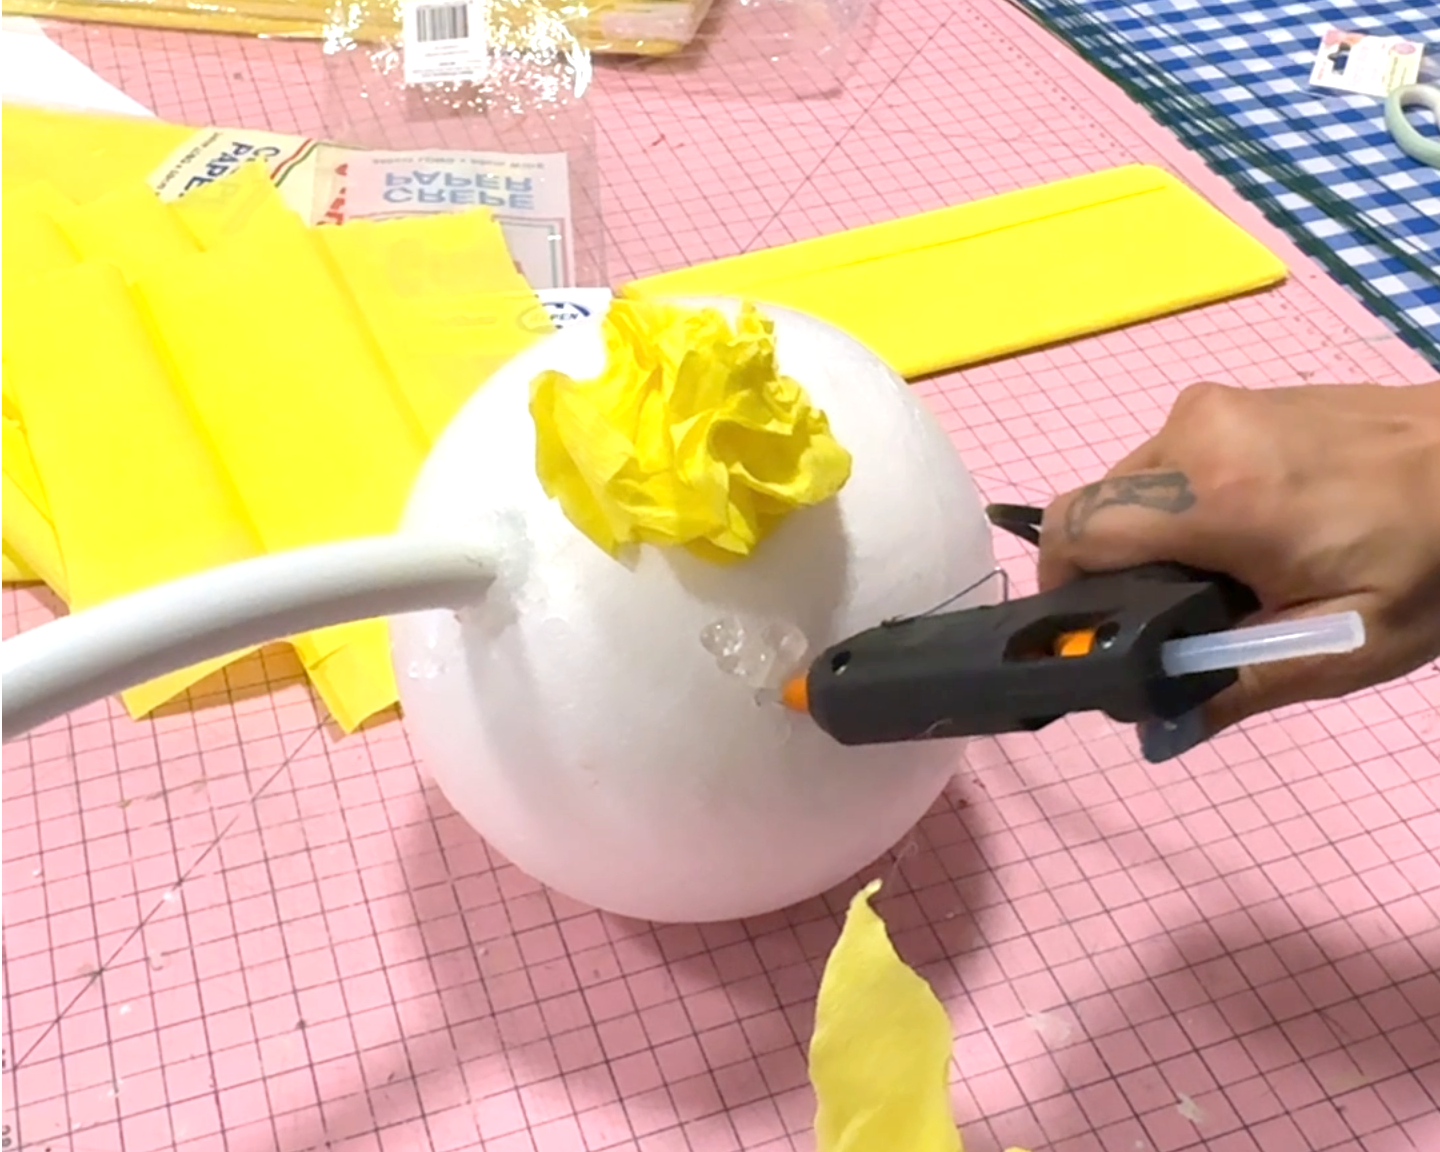
Poke a deep hole in the styrofoam ball with a pair of scissors or a screwdriver, then hot glue the PVC pipe into the hole. Cut large segments of the crepe paper and scrunch it up. Then glue the scrunched pieces around the ball to form the daisy centre.
Step 7
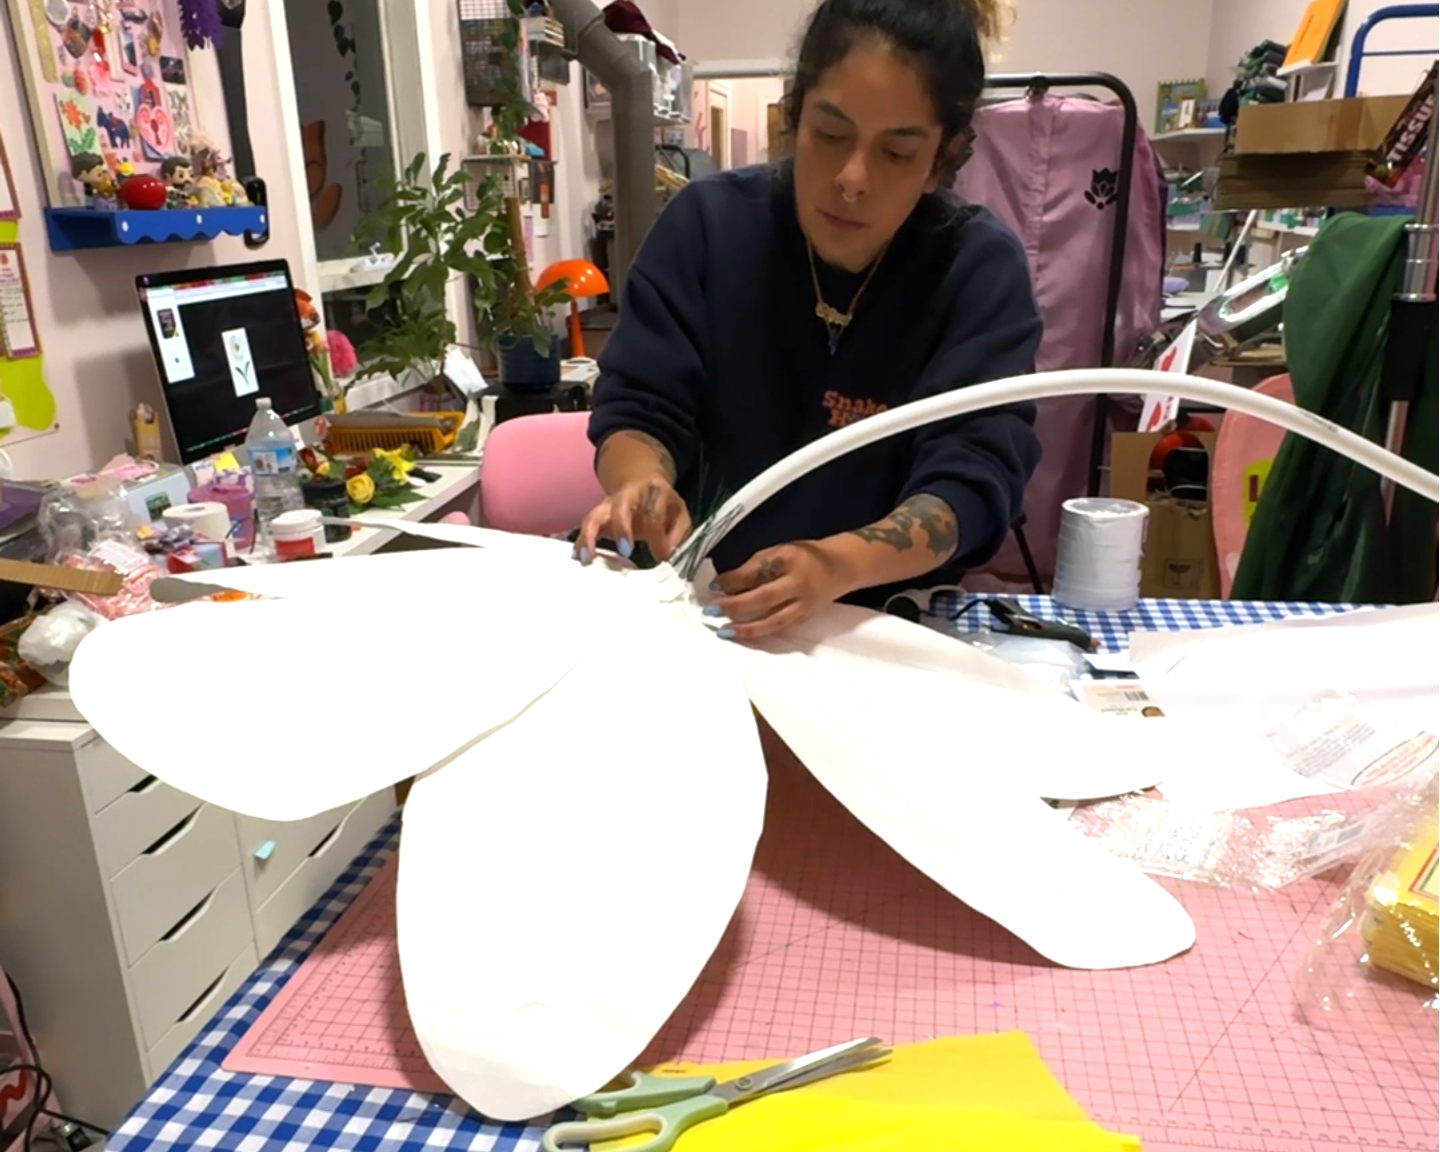
Use hot glue to affix the first layer of petals to the styrofoam ball and onto the stem. Overlap the petals as they fan around the stem. Repeat this with a second layer, positioning each petal in the gaps between the first layer petals.
Step 8
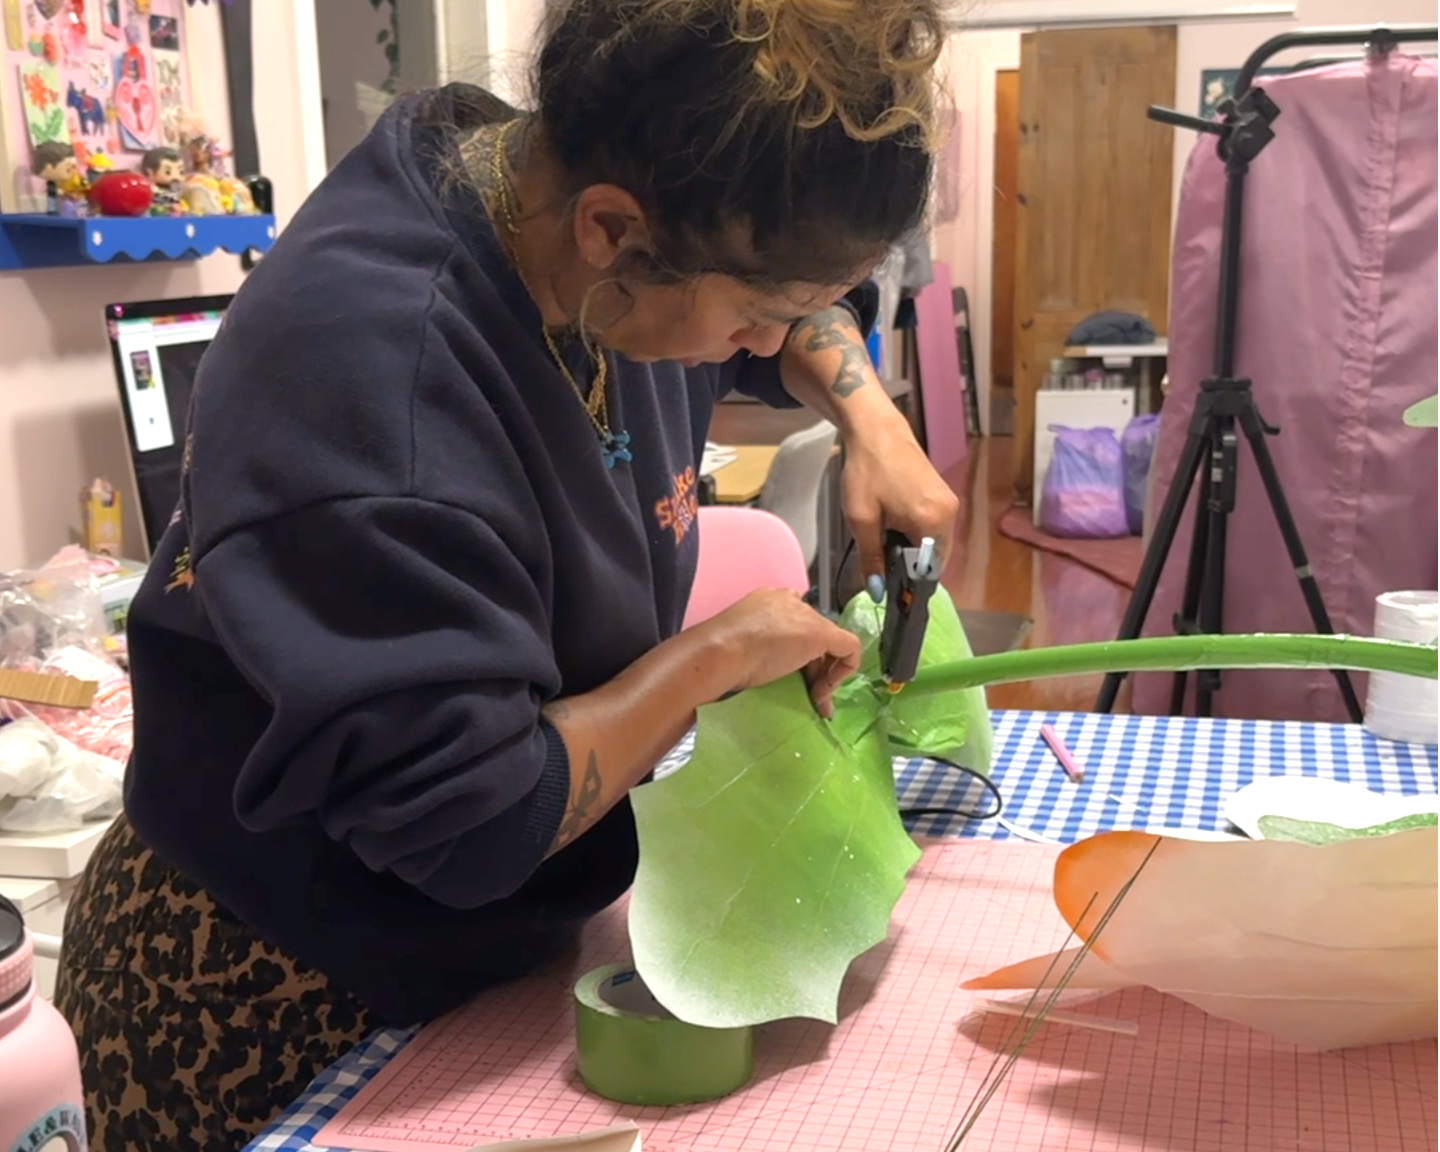
Start affixing the leaves onto the stem, wrapping the pipe in the green tape as you work your way from base of the flower all the way down the stem. Make sure you enclose the wires as you wrap. To finish, use the wires inside the leaves and petals to shape and style them as you wish. Now, go and frolic!
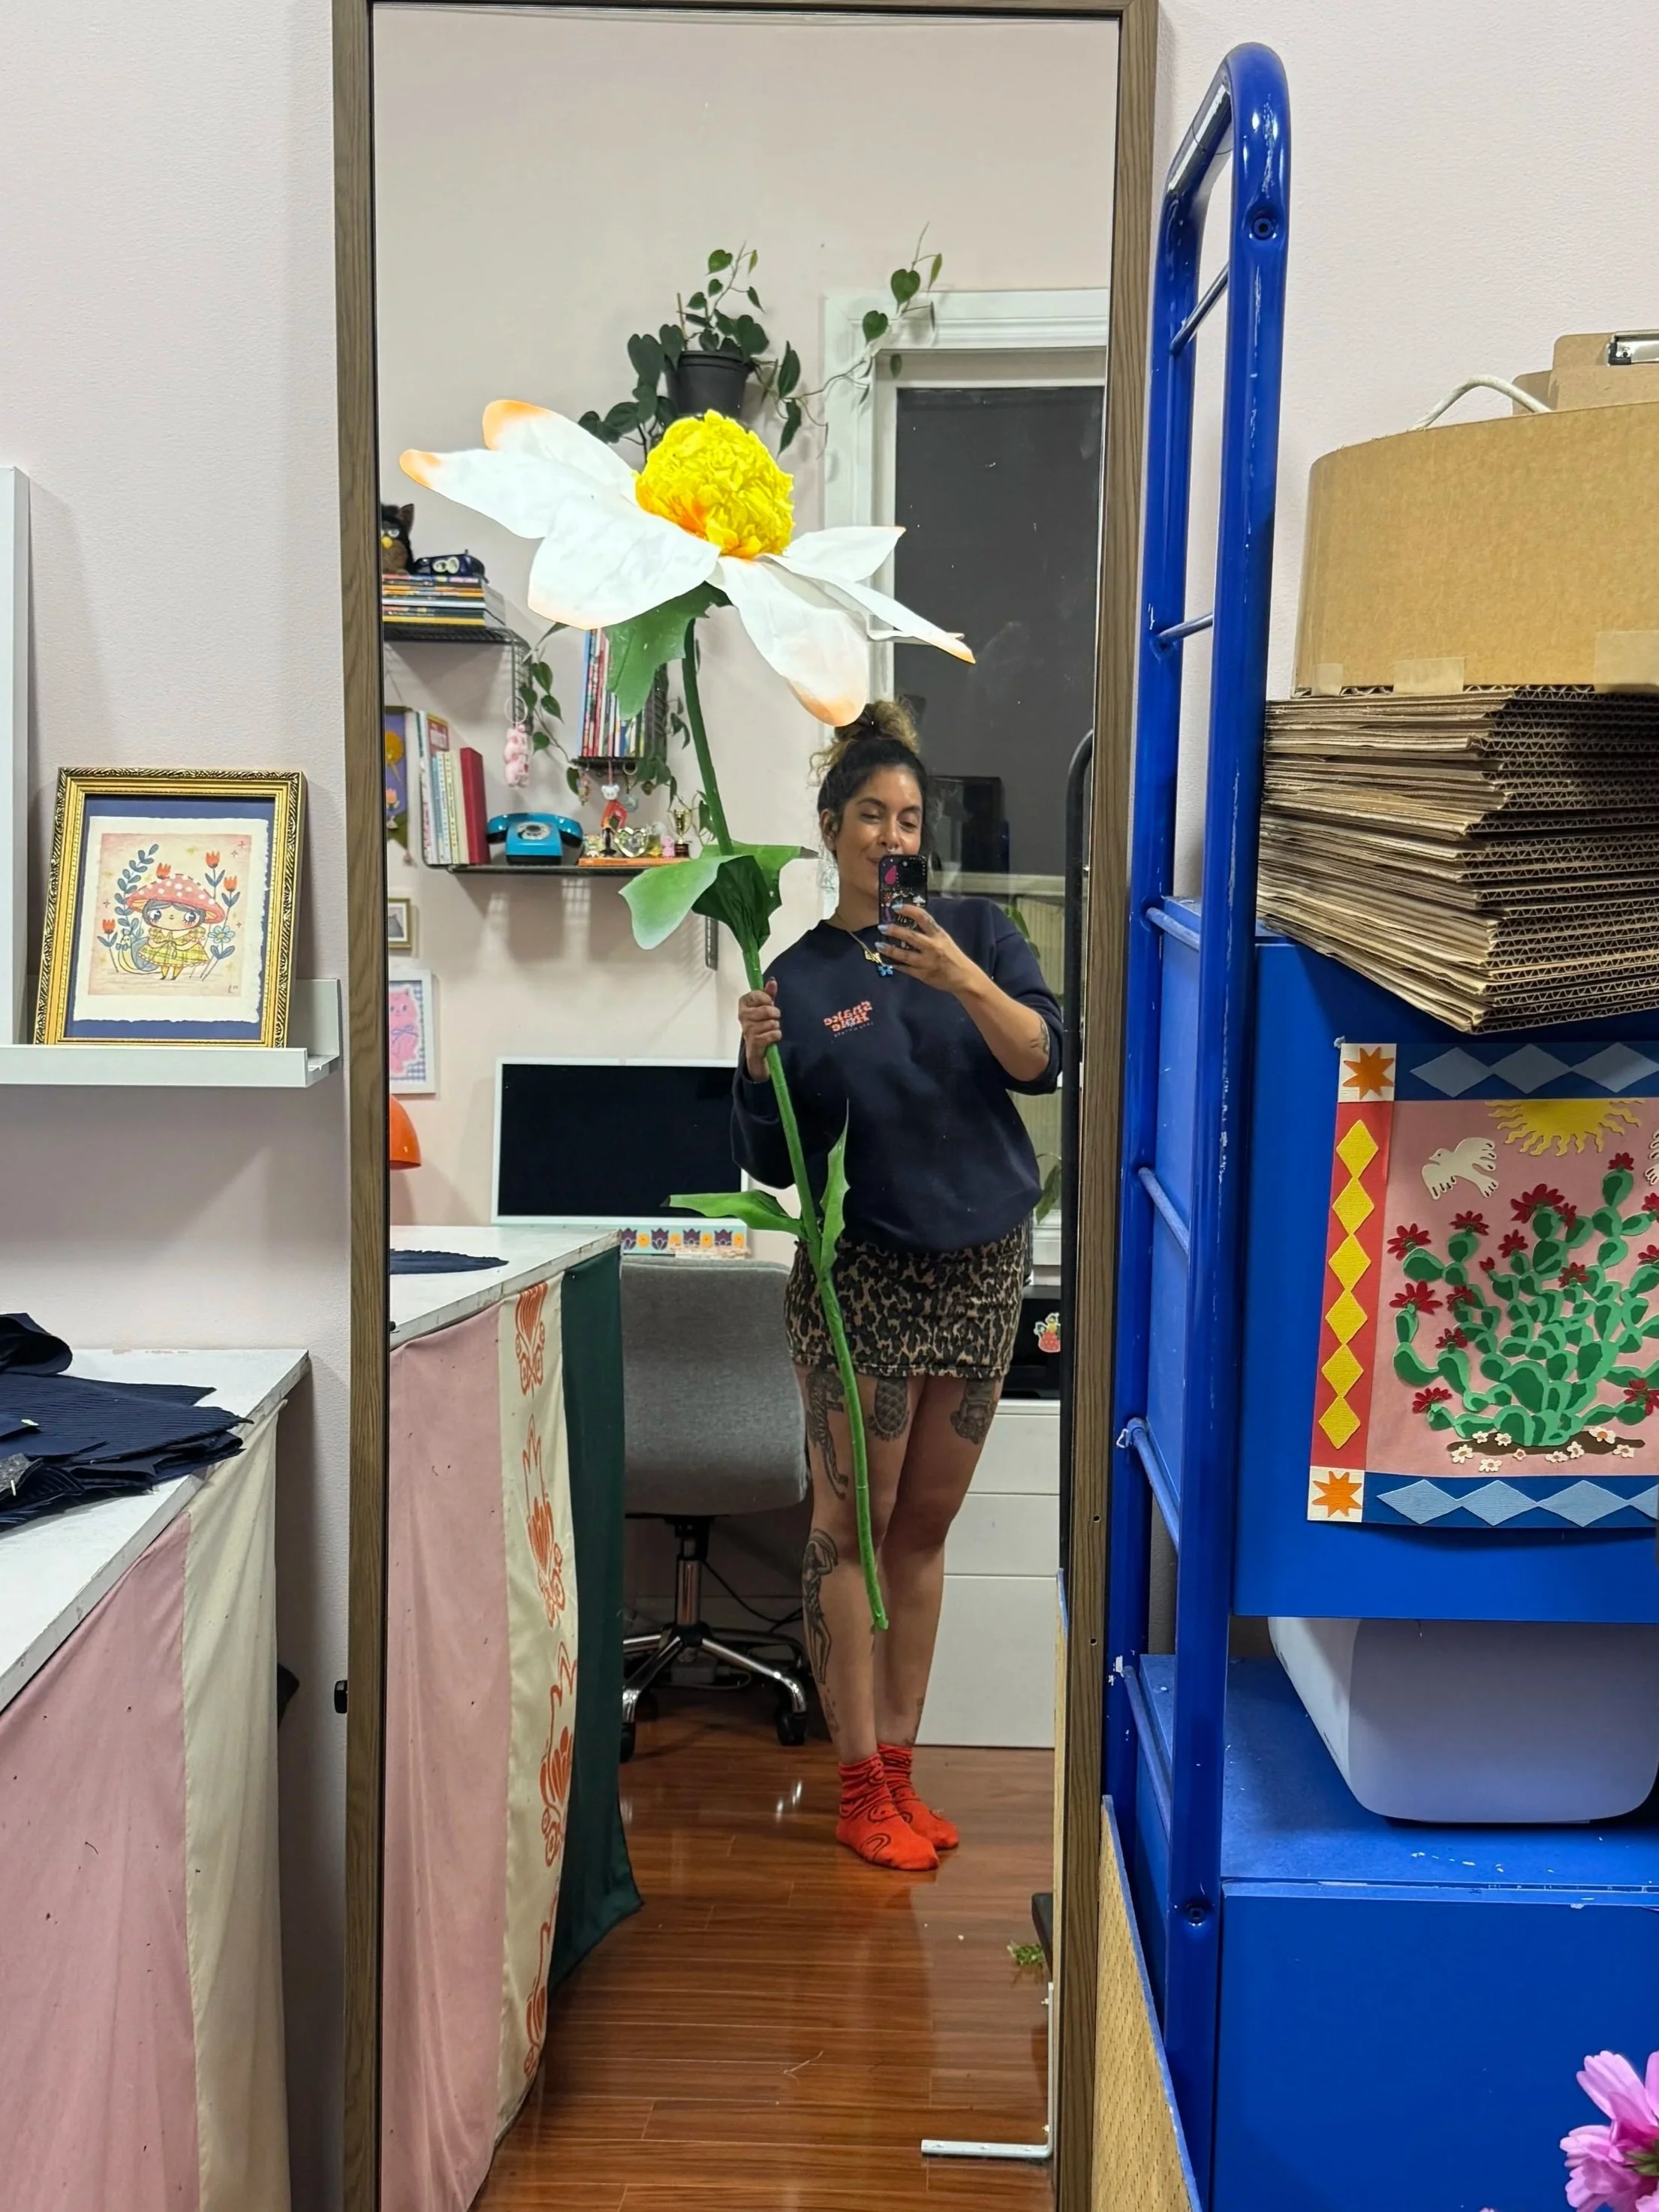
I love how my giant daisy turned out. You can easily use this method to create different styles and colours of giant flower too. If you end up making one, tag me in any photos you post to socials (@kitiyapalaskas) - I would love to see what you make! Happy crafting!