
Kit's top tips for making plushie props
Have you ever wanted to make your own plushie props or soft sculptures, but need a little bit of guidance? Here at Kitiya Palaskas Studio, we’ve been making them for years, and today I’m sharing my top tips to help you along the way.
As you may already know, I love an oversized, novelty prop. I also love working with fabric and sewing to create playful but also realistic looking props. Fabric is really versatile for prop-making because it can be stretched, moulded, painted, stitched, and embellished to create the prop or soft sculpture of your dreams! Read on for my top plushie prop-making tips, and let us know yours in the comments!
Tip 1: Pick the right materials
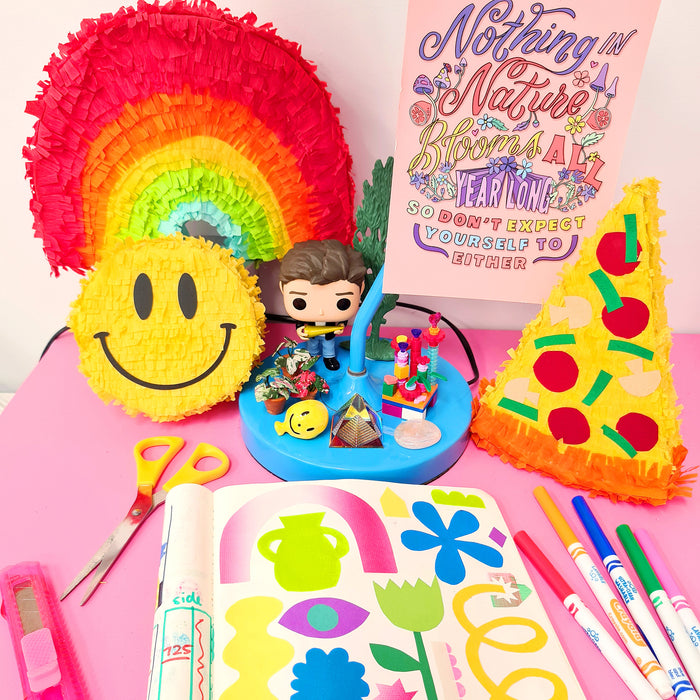
There are many plushie prop-making/soft-sculpture tips out there and I encourage you to experiment to find a technique that you love to work with. When we make soft-sculpture props here at Kitiya Palaskas Studio, we usually create fabric shapes that are either filled with stuffing, or moulded around foam forms. Kind of like big novelty-shaped cushion covers! When it comes to choosing fabric for these projects we have 2 go-tos: fleece and industrial felt. Fleece is a great option because it’s stretchy, and so can be moulded around foam shapes in a super neat and defined way, allowing you to achieve lots of great sculptural detail. It’s also great for stuffing if you’re making a more playful, cushion-like prop. For props that need more stand-alone structure, we might opt for industrial felt, which is thicker and holds its form better when stuffed, without the need for an internal foam base. For decorative details, we use regular felt, paint, stitching, and other embellishments.

Tip 2: Use a template
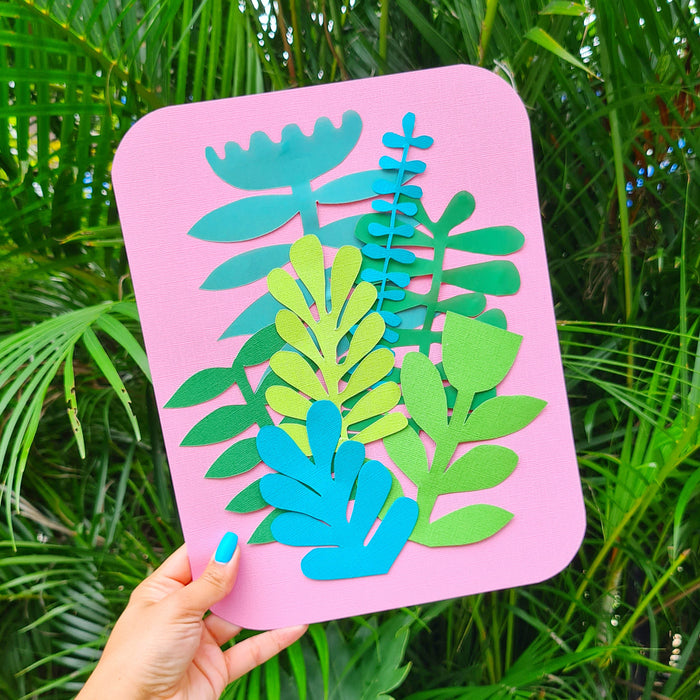
Just like with garment making, it can really help to create a template for your soft-sculptures or plushie props and test the pattern out. This allows you to work out how the shape or structure will be formed, figure out what is going to go where, and troubleshoot any construction issues before you cut and sew using your actual fabric. I have some scrap fleece and felt that I sourced secondhand for use on test patterns, and always create a paper pattern first. The great thing about creating a pattern or template, is that you can use it again and again to build new props, and you can modify its base shape easily to create new forms.

Tip 3: Save money and upcycle your stuffing!
Polyfill, or Hobby Fill is a pretty common option for stuffing a plushie prop or soft sculpture piece. While it does work really well at filling small, detailed shapes and keeping your prop lightweight, it can be pricey and isn’t always the most sustainable option. My go-to hack for combatting this is to source cushions (and even sometimes beanbags) from thrift stores and use the stuffing from those to fill my props instead. While this isn’t always possible, it’s a good option if you’re looking to keep your prices down, and create with sustainability in mind.

It’s so fun to make plushie props and soft sculptures, and we hope that these tips will inspire and encourage you to experiment with your own techniques to create some for yourself. If you’re looking for more creativity tips and inspiration. Happy crafting!
As you may already know, I love an oversized, novelty prop. I also love working with fabric and sewing to create playful but also realistic looking props. Fabric is really versatile for prop-making because it can be stretched, moulded, painted, stitched, and embellished to create the prop or soft sculpture of your dreams! Read on for my top plushie prop-making tips, and let us know yours in the comments!
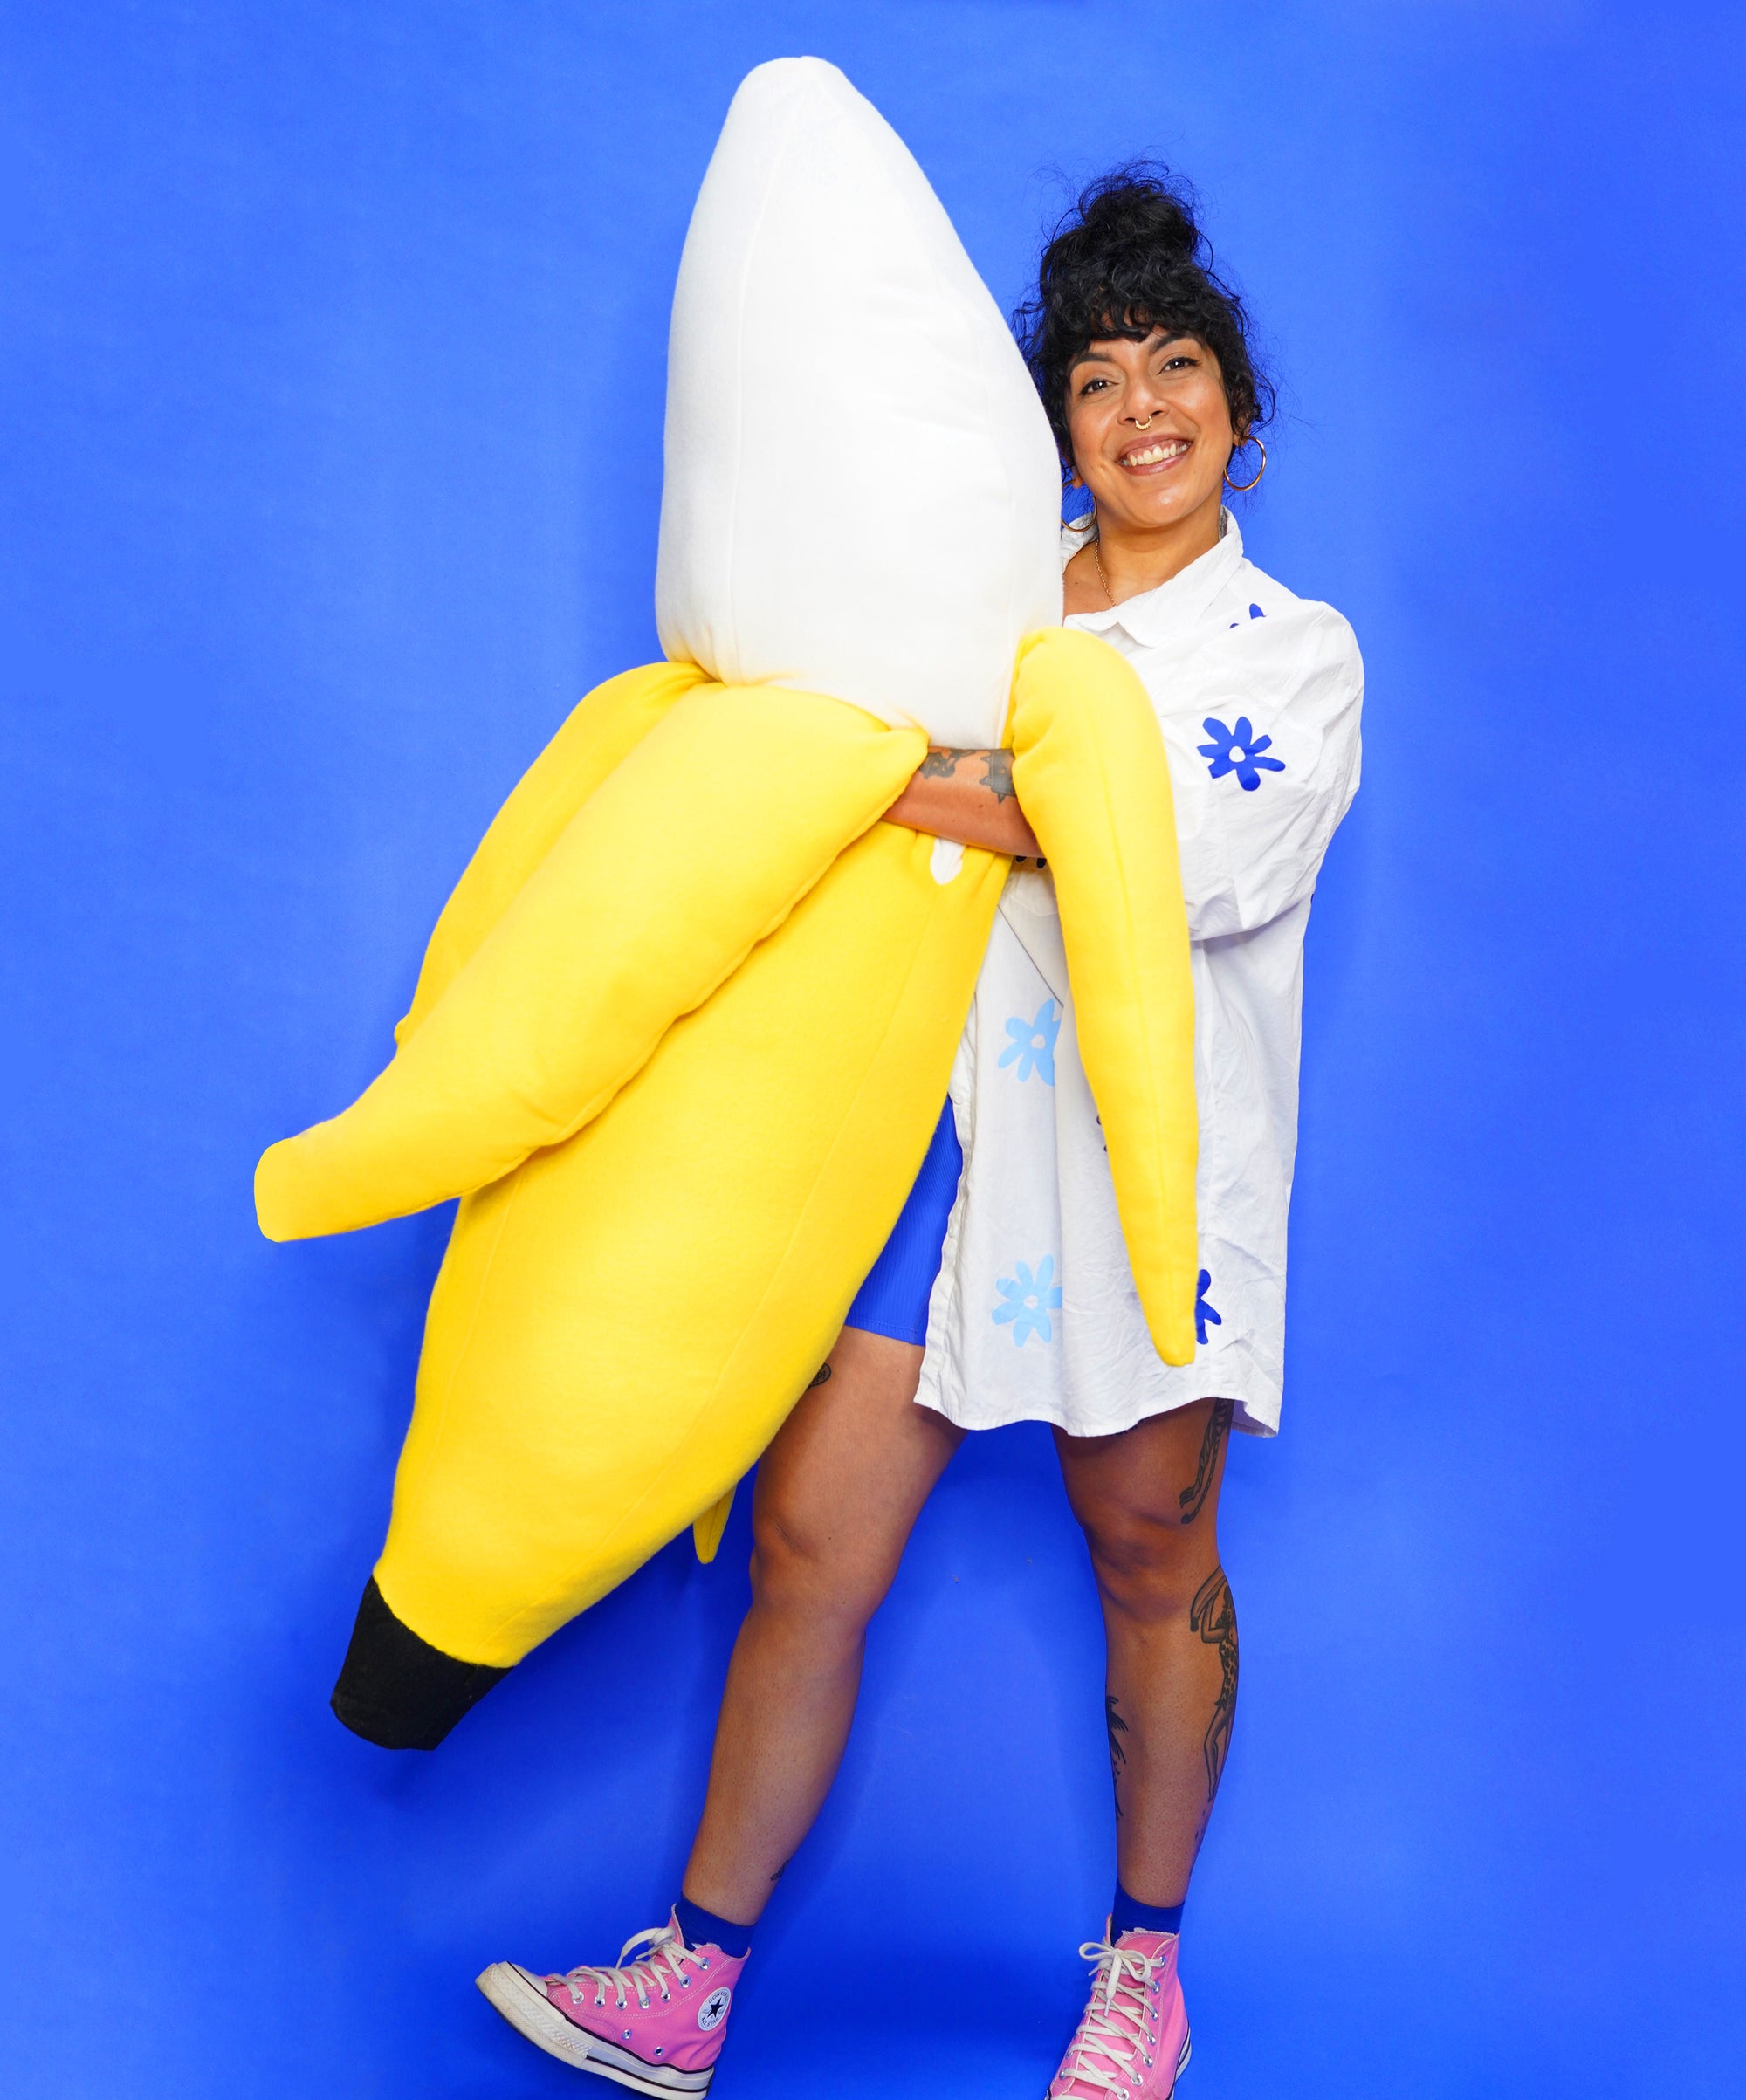
 This prop was made using a fleece stuffed with polyfill, with regular felt for the detailing. |
 This prop was made using industrial felt with polyfill stuffing inside. |
Tip 1: Pick the right materials
There are many plushie prop-making/soft-sculpture tips out there and I encourage you to experiment to find a technique that you love to work with. When we make soft-sculpture props here at Kitiya Palaskas Studio, we usually create fabric shapes that are either filled with stuffing, or moulded around foam forms. Kind of like big novelty-shaped cushion covers! When it comes to choosing fabric for these projects we have 2 go-tos: fleece and industrial felt. Fleece is a great option because it’s stretchy, and so can be moulded around foam shapes in a super neat and defined way, allowing you to achieve lots of great sculptural detail. It’s also great for stuffing if you’re making a more playful, cushion-like prop. For props that need more stand-alone structure, we might opt for industrial felt, which is thicker and holds its form better when stuffed, without the need for an internal foam base. For decorative details, we use regular felt, paint, stitching, and other embellishments.
Tip 2: Use a template
Just like with garment making, it can really help to create a template for your soft-sculptures or plushie props and test the pattern out. This allows you to work out how the shape or structure will be formed, figure out what is going to go where, and troubleshoot any construction issues before you cut and sew using your actual fabric. I have some scrap fleece and felt that I sourced secondhand for use on test patterns, and always create a paper pattern first. The great thing about creating a pattern or template, is that you can use it again and again to build new props, and you can modify its base shape easily to create new forms.
Tip 3: Save money and upcycle your stuffing!
Polyfill, or Hobby Fill is a pretty common option for stuffing a plushie prop or soft sculpture piece. While it does work really well at filling small, detailed shapes and keeping your prop lightweight, it can be pricey and isn’t always the most sustainable option. My go-to hack for combatting this is to source cushions (and even sometimes beanbags) from thrift stores and use the stuffing from those to fill my props instead. While this isn’t always possible, it’s a good option if you’re looking to keep your prices down, and create with sustainability in mind.
It’s so fun to make plushie props and soft sculptures, and we hope that these tips will inspire and encourage you to experiment with your own techniques to create some for yourself. If you’re looking for more creativity tips and inspiration. Happy crafting!